
Guide
Choosing stitches for skies
Compare quiet tent stitch, mosaic, and an open sky treatment, then plan a roofline and cloud without breaking the design.
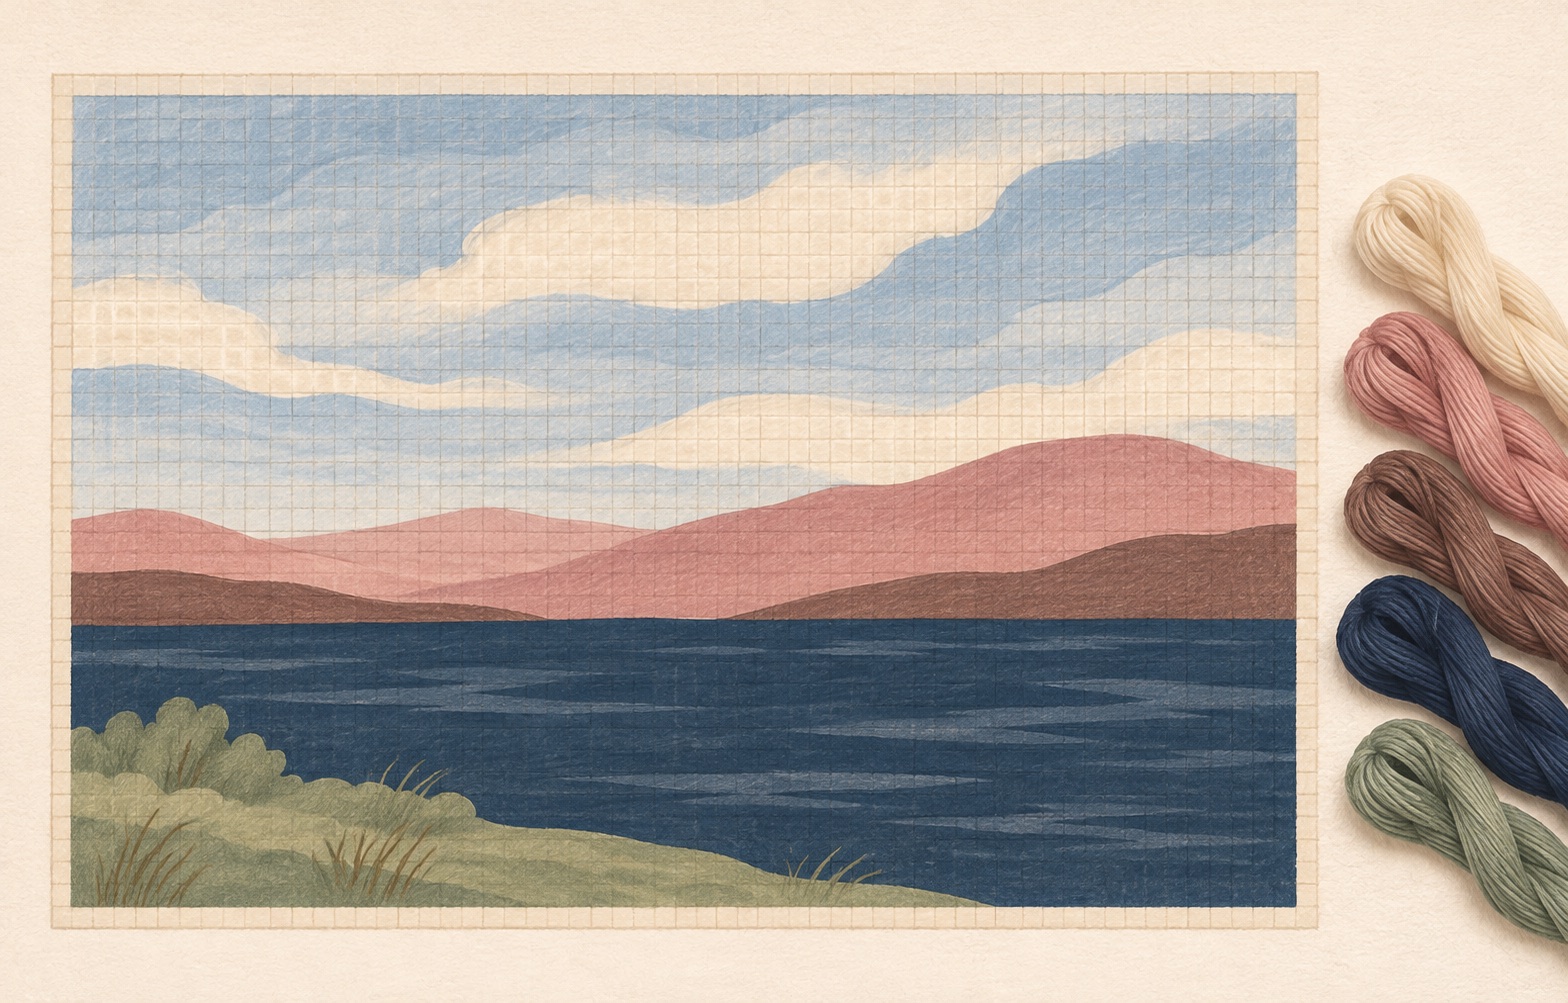
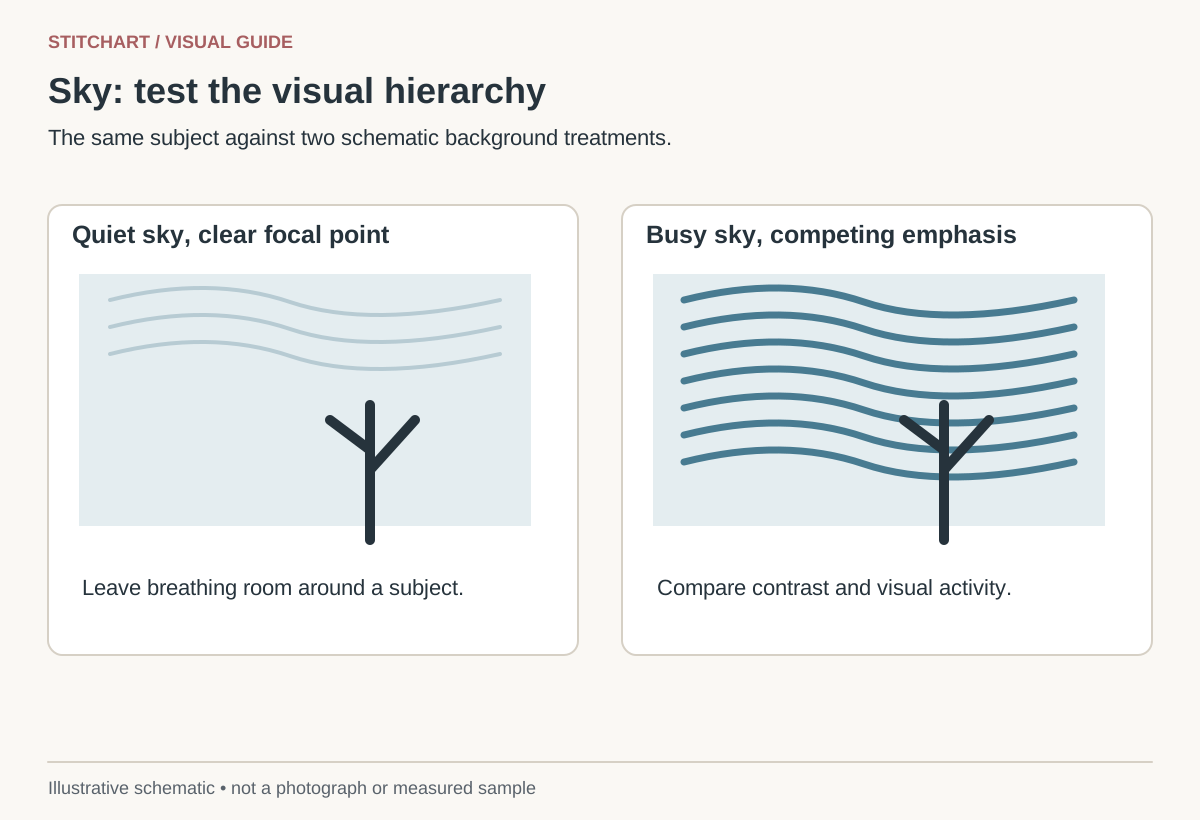
For a sky behind detailed architecture or lettering, start with a quiet tent stitch. Use a decorative pattern when the sky is meant to be a visible design element and there is enough space for its repeat. The decision is about the whole picture: a beautiful texture can still be the wrong background for a tiny house.
Choose a candidate for the space
| Sky situation | Candidate | Reason and limit |
|---|---|---|
| Narrow strip around a roof or tree | Continental tent stitch | A single-intersection stitch follows small boundaries without forcing a large repeat |
| Broad quiet field | Basketweave tent stitch | A consistent filled field keeps attention on the subject; keep diagonal working order consistent |
| Stylized sky on a simple graphic design | Mosaic stitch | Small square units add deliberate texture; check that the repeated pattern does not resemble a wall |
| Intentional light/open background | A counted open darning layout | Exposed canvas becomes part of the design; unsuitable when full coverage is the goal |
For an open treatment, the canvas color and any printed marks remain visible. Do not use an open pattern as an accidental solution to insufficient thread. A fully covered painted sky and an open background are different design briefs; choosing open background stitches explains that choice.
Worked choice: sky around a small house
Consider a 30-intersection-wide sky above a roof whose peak leaves only five sky rows at the center. On 18 mesh, five rows are about 0.28 inch high. Mosaic has a two-thread-high repeat, so that narrow area would contain only two full rows of units and compensation. Continental tent stitch gives more control there and can continue across the entire sky for a consistent appearance.
For a larger sky on the same drawing, test the decision on paper first: a 20-row-high field has room for ten mosaic block rows. The repeat is now a visible texture rather than a few isolated fragments. Choose it only if that graphic pattern supports the house; the larger available space does not by itself make it preferable.
Count a roofline instead of inventing sloping stitches
Use a small practice boundary where the first roof intersection in six neighboring columns begins on rows 6,5,4,4,5,6. The sky in those columns ends one row above: rows 5,4,3,3,4,5. Fill only those sky intersections in tent stitch. This produces a stepped counted roof outline while keeping every front stitch the same size and slant.
Do not make a longer diagonal across two intersections to smooth the roof; it can cover an intersection belonging to the roof color. If using mosaic, keep the block grid fixed and shorten only the part that crosses the outline. Follow the mosaic corner example and the compensation guide.
Keep clouds and color transitions clear
For a small cloud, chart the silhouette in whole intersections before choosing a second texture. One simple six-column shape can use row widths 2,4,6,4, centered on the same vertical line. Work it in a lighter thread using the same tent stitch as the surrounding sky; the color change alone defines the cloud. This is a composition exercise, not a claim that all clouds should have this shape.
When a painted sky uses several close shades, keep the stitch direction consistent through them. A change in thread orientation or sheen can create an unintended stripe. End or secure a dark thread before crossing behind a light cloud; inspect the reverse before covering the area.
Check the finished design decision
Stand back from the canvas and ask which shape catches your eye first. If the sky wins over the intended subject, reduce contrast, sheen, or repeat size. If a quiet sky feels too flat, add one controlled change at a time, such as a few charted cloud intersections, so you can see what caused the improvement. The water guide uses the same principle for reflections.
Keep learning

Guide
Choosing stitches for water
Choose between tent stitch, mosaic, and horizontal straight stitches for water, with a worked pond and shoreline example.

Learning path
Your first needlepoint canvas: a learning path
Follow a linked beginner path from choosing a canvas and planning its finish to starting threads, stitching, and checking your first project.