
Guide
Choosing stitches for water
Choose between tent stitch, mosaic, and horizontal straight stitches for water, with a worked pond and shoreline example.
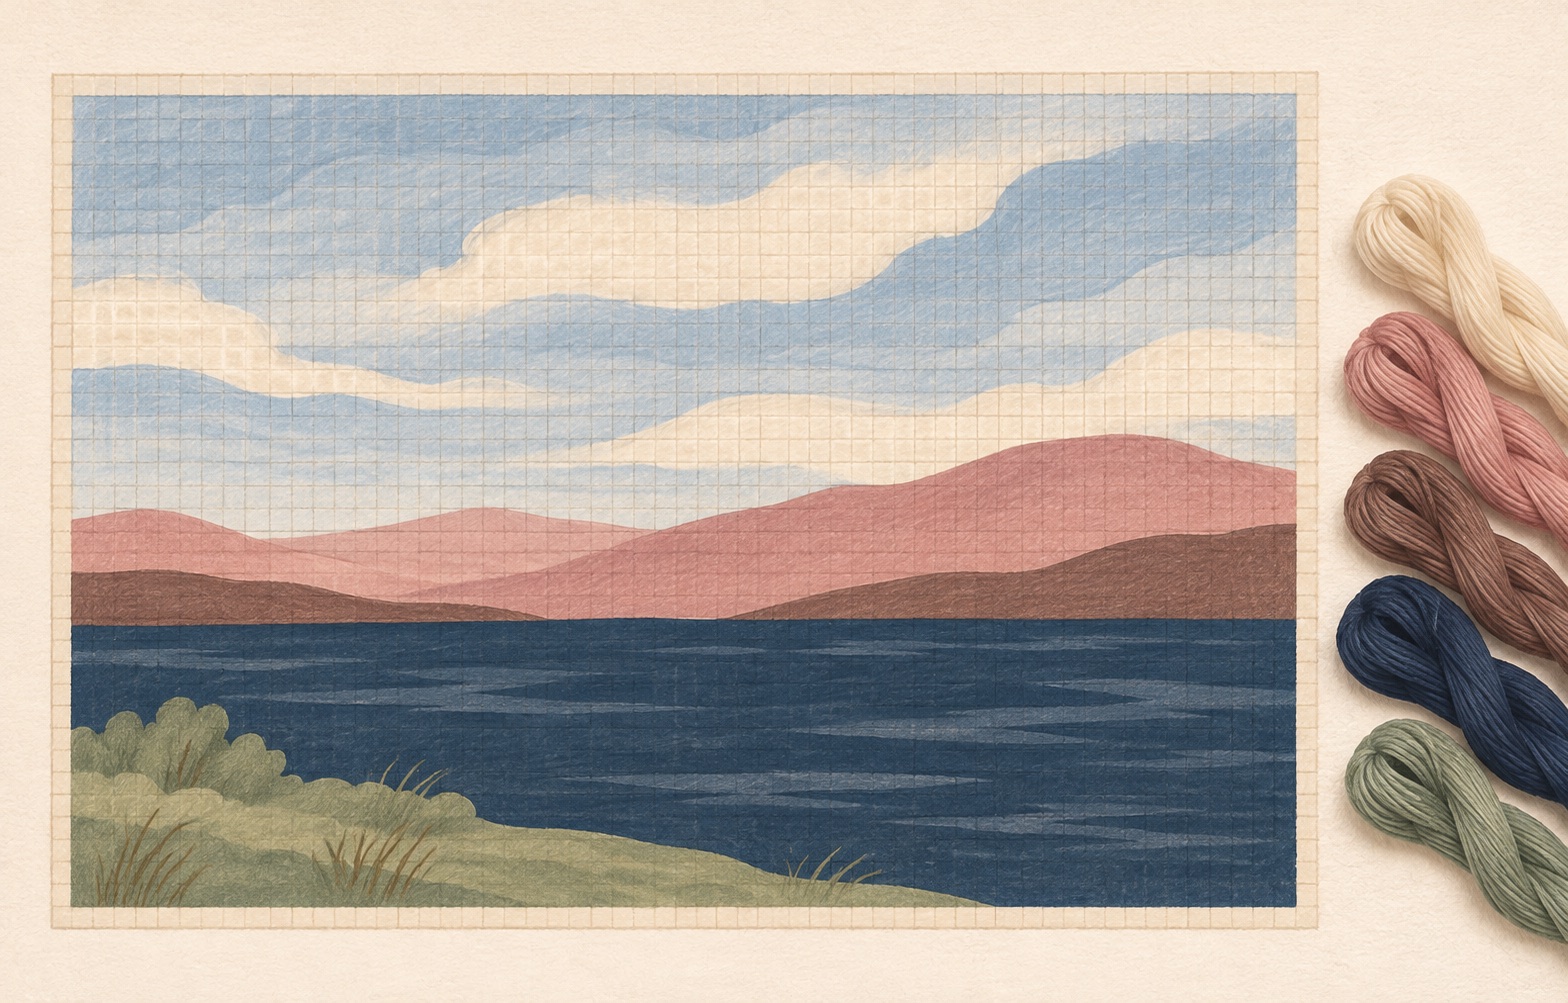
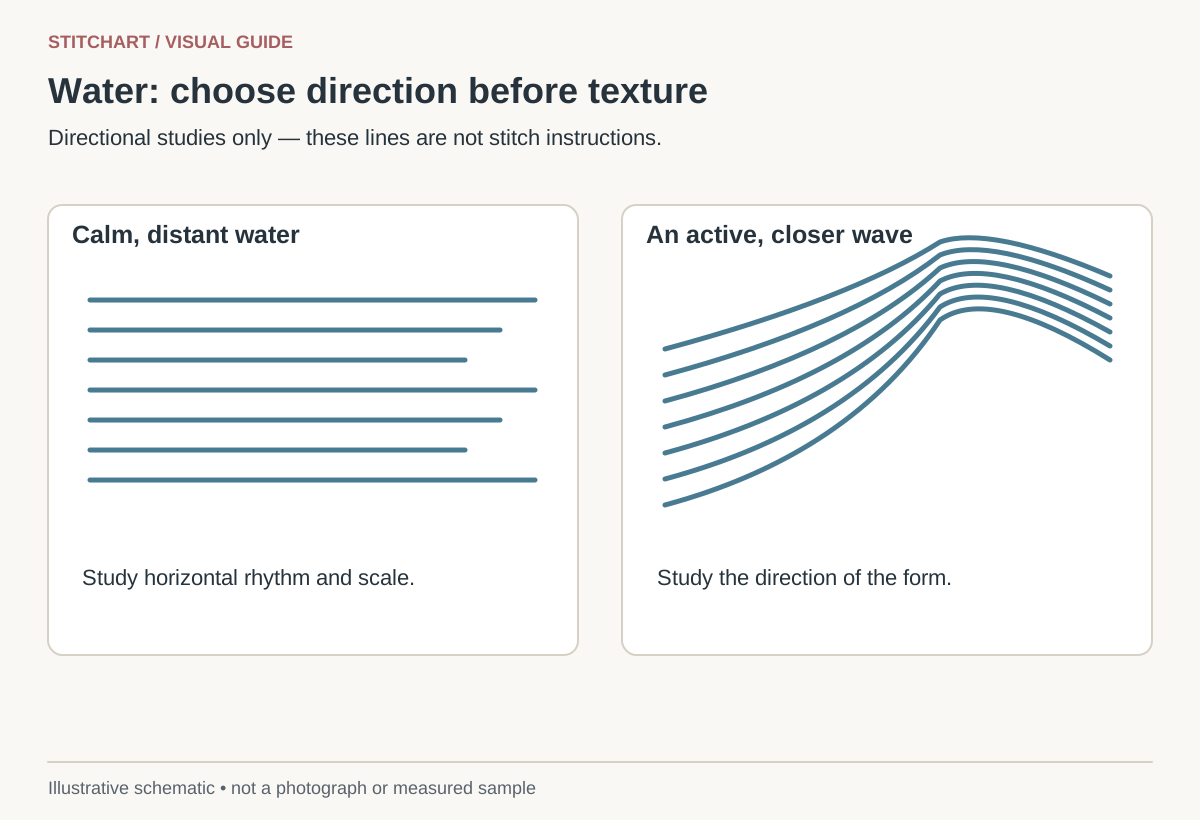
Start with the scale and movement of the water. For a small distant pond, a quiet tent-stitch fill usually preserves the shoreline more clearly than a large decorative repeat. For a stylized pool, mosaic can create an intentional tiled texture. Short horizontal straight stitches can suggest bands of reflection when the area is large enough to contain them. These are design choices, not rules that every blue area must follow.
Three useful candidates
| Candidate | Consider it for | Watch for |
|---|---|---|
| Basketweave tent stitch | A broad, relatively quiet water area with a detailed boat or shoreline | It supplies coverage and small-scale texture rather than a literal wave |
| Mosaic stitch | A stylized pool, pond, or decorative water panel | The 2 × 2 repeat can read as tiles; it may be too busy behind small subjects |
| Short horizontal straight stitches | A flat reflective surface where horizontal bands support the drawing | Long floats can catch; stagger ends and avoid making every line the same length |
For tiny water slivers between reeds or beneath a boat, continental is a convenient small-area tent route. Choose the thread color and contrast first: adding a dramatic texture cannot restore a lost boat outline.
Worked choice: a small pond
Imagine a pond 20 intersections wide and eight high, with a two-intersection-high dark shoreline and a small boat. At 13 mesh, the water area is approximately 1.54 × 0.62 inches. Mosaic would fit only four complete block rows in that height. Beside the boat, a three-intersection-wide gap would contain one complete block and partial stitches. For this composition, choose tent stitch for the narrow gaps and broad pond so the boat and shoreline remain the main shapes.
Reserve a pale reflection for a small band below the boat: chart six light intersections on one row, four on the next, and two on the third, centered beneath the subject. Work those intersections in the same tent stitch instead of changing both color and texture. That gives a controlled change in the design without asking a small area to carry a second repeat.
If you want horizontal reflection stitches
On a separate practice area, try horizontal front spans over two vertical canvas threads using a backstitch-style working order. Start up at hole (2,1), down at (0,1); next come up at (4,1), then go down at (2,1); continue up at (6,1), down at (4,1). Move behind the canvas between stitches. Do not come straight back up through the hole you have just gone down through: that can pull out the stitch instead of anchoring it. On the row below, offset the spans: up (1,2), down (0,2); up (3,2), down (1,2); up (5,2), down (3,2); and, if the boundary ends at column 6, up (6,2), down (5,2). The first and last spans on that row are one thread wide. These are straight horizontal stitches with a backstitch-style route, not tent stitch.
Use the actual painted outline as the limit. If the lower row ends at column 5, omit the final (6,2) → (5,2) stitch; the preceding span already reaches column 5. If a boundary cuts across a longer proposed span, shorten that span to the boundary instead of entering the bank. The staggered ends reduce the appearance of a rigid grid. This geometric exercise explains the layout; it does not establish the wear performance or coverage of a particular thread.
Handle the shore as a boundary
Chart the bank’s final water intersection before stitching. Tent stitch stops at that intersection. For mosaic, preserve the 2 × 2 grid and shorten the crossing diagonal as shown in the compensated-corner example. An empty interval is not permission to shift the whole repeat toward the shore.
Look at the complete design from normal viewing distance. If the water texture competes with the boat, simplify the water before adding more details. Avoid a long dark thread carry behind a pale reflection; start and end within already covered areas. Use compensation planning for a curved edge and coverage checks if the selected setup leaves unintended gaps.
Keep learning

Guide
Choosing stitches for skies
Compare quiet tent stitch, mosaic, and an open sky treatment, then plan a roofline and cloud without breaking the design.

Learning path
Your first needlepoint canvas: a learning path
Follow a linked beginner path from choosing a canvas and planning its finish to starting threads, stitching, and checking your first project.