
Guide
Cropping a portrait for needlepoint
Crop a portrait without stretching it, compare two compositions at the same canvas size, and calculate the space available for facial details.
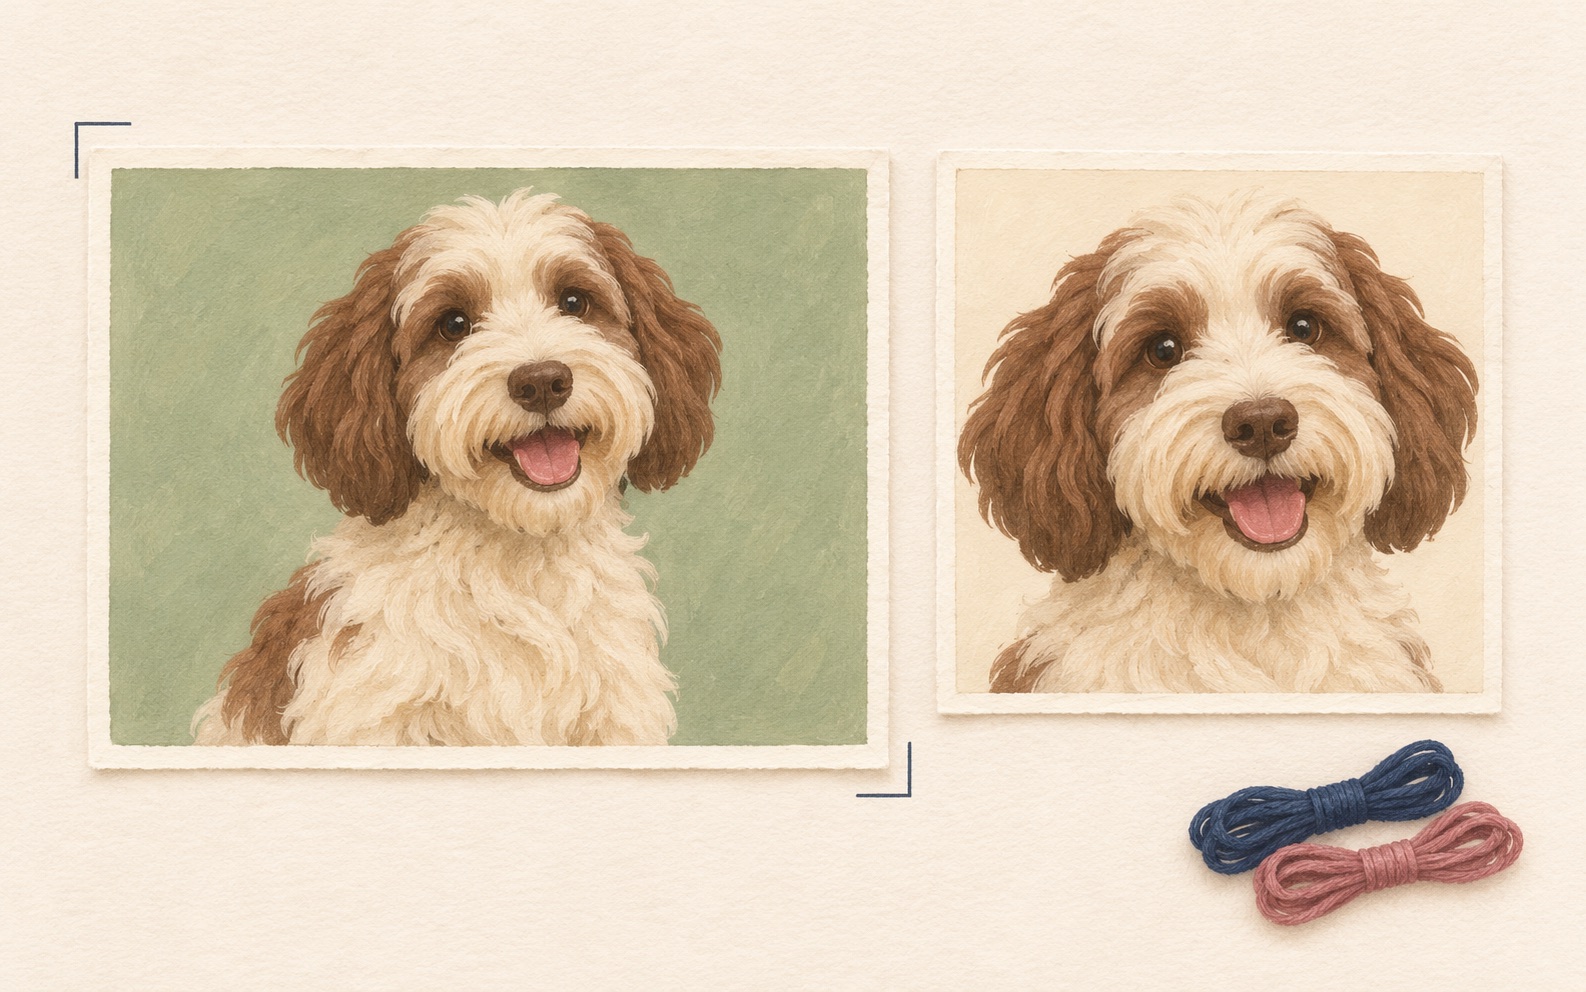
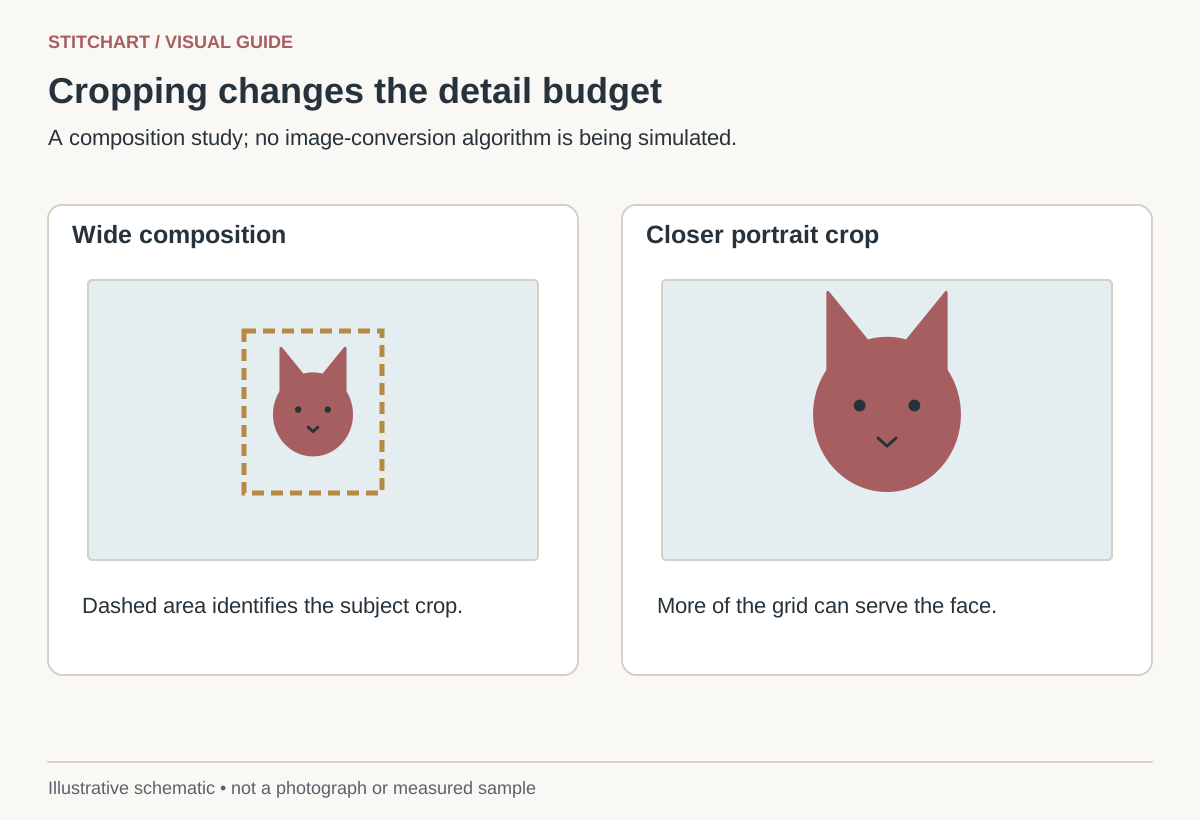
A portrait crop decides how much of the stitch grid goes to the face and how much goes to clothing or background. Keep the face’s proportions unchanged, preserve the outline that makes it recognizable, and judge alternatives at the same final canvas dimensions.
Choose the canvas proportions first
A square design needs a square crop. A 4 × 6-inch design needs a 2:3 width-to-height ratio. If the source photograph has another ratio, crop or add suitable background; do not independently resize width and height until the face fits. That stretches the subject.
For example, a 2,000 × 1,500 pixel photograph is 4:3. A square crop can use 1,500 × 1,500 pixels if the desired subject fits inside it. A closer 900 × 900 crop preserves the same square proportions while giving the face more of the frame. The smaller crop is useful only if it retains enough real detail and the essential outline.
Compare two crops with a fixed output
Suppose the face is 600 pixels wide in the original. In a 1,500-pixel-wide square crop it occupies 40%; in a 900-pixel-wide crop it occupies about 67%. On a 6-inch 13 mesh design with 78 positions across, the face receives roughly 31 positions in the wider crop and 52 in the closer crop. On 18 mesh, the corresponding values are about 43 and 72.
| Crop width | Face share | 6-inch 13 mesh face width | 6-inch 18 mesh face width |
|---|---|---|---|
| 1,500 pixels | 40% | About 31 positions | About 43 positions |
| 900 pixels | About 67% | 52 positions | 72 positions |
The numbers explain why cropping can preserve more usable facial detail. They do not prove that the closer crop is always better: it may remove ears, hair, a pet’s whisker outline, or a meaningful part of the pose.
Protect the recognition points
- Keep the relationship between both eyes, nose, and mouth or muzzle.
- Check the head outline, ears, hair, and fur shape before cutting close.
- Leave enough space that the face does not feel unintentionally squeezed against the edge.
- Decide whether a collar, clothing, or a hand contributes to the portrait’s meaning.
- Remove background distractions only when doing so supports the intended composition.
Compare the crops side by side at the same proposed physical size. A close crop shown larger on screen has an unfair advantage. Use a ruler or print-size reference when judging the actual design scale.
Use a repeatable cropping sequence
- Save a copy of the original and record permission to reproduce it.
- Set the crop tool to the target aspect ratio. Place the face, then adjust the boundary without changing that ratio.
- Save a wider and a closer option with clear names. Do not overwrite the original.
- View both at the intended stitched size; reject any that lose an essential feature or distort the proportions.
- Check the selected crop in the intended stitch grid and palette. If the eyes merge or the outline becomes confusing, reconsider the crop, size, or contrast rather than assuming stitching will repair it.
What to approve
Keep the selected crop, stitched dimensions, mesh, and background choice with the approved preview. Record any deliberate simplification, such as removing a busy fence or keeping only the pet’s head and collar. A general approval of the source photograph is not the same as approving a specific crop.
For the image-quality checks that come before cropping, use choosing a photo. For the relationship between grid positions and inches, use 13 versus 18 mesh. These composition calculations apply before a particular service’s upload controls; they do not imply that every designer tool offers the same editing functions.
Keep learning

Guide
Choosing a photo for a custom needlepoint canvas
Choose a custom-canvas image by checking subject size, contrast, crop, and the number of stitch positions available at 13 or 18 mesh.

Learning path
Your first needlepoint canvas: a learning path
Follow a linked beginner path from choosing a canvas and planning its finish to starting threads, stitching, and checking your first project.