
Guide
13 versus 18 mesh: choosing the right scale
Calculate how 13 and 18 mesh change a design’s size and detail, compare fixed-size and fixed-count examples, and choose a practical setup.
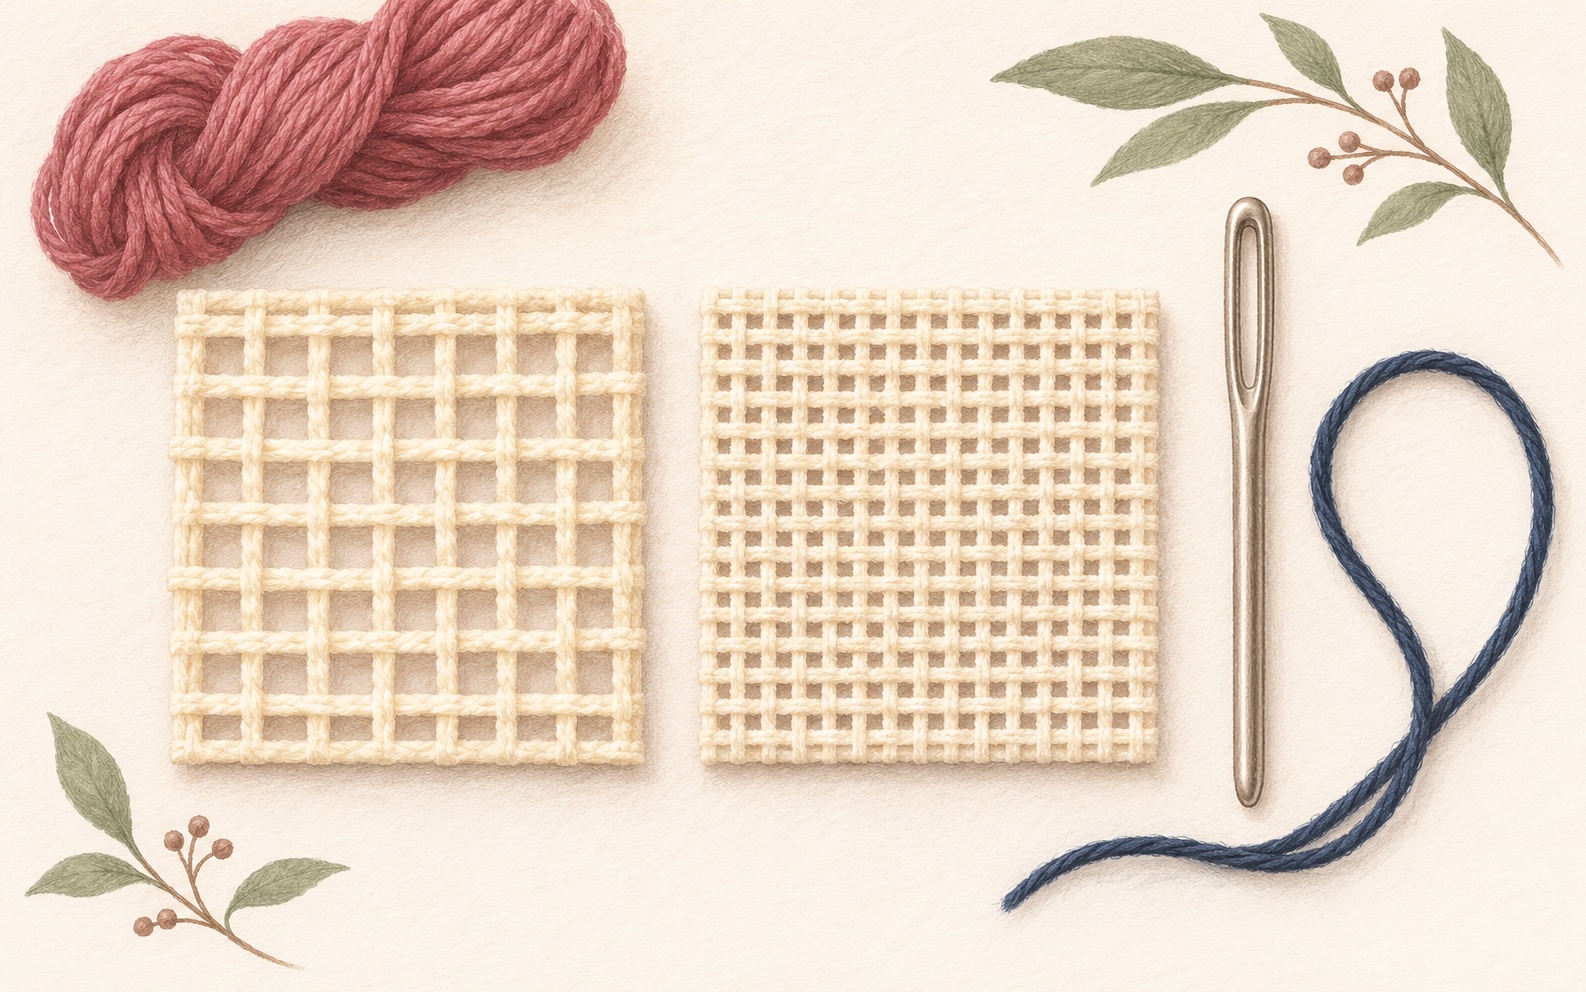
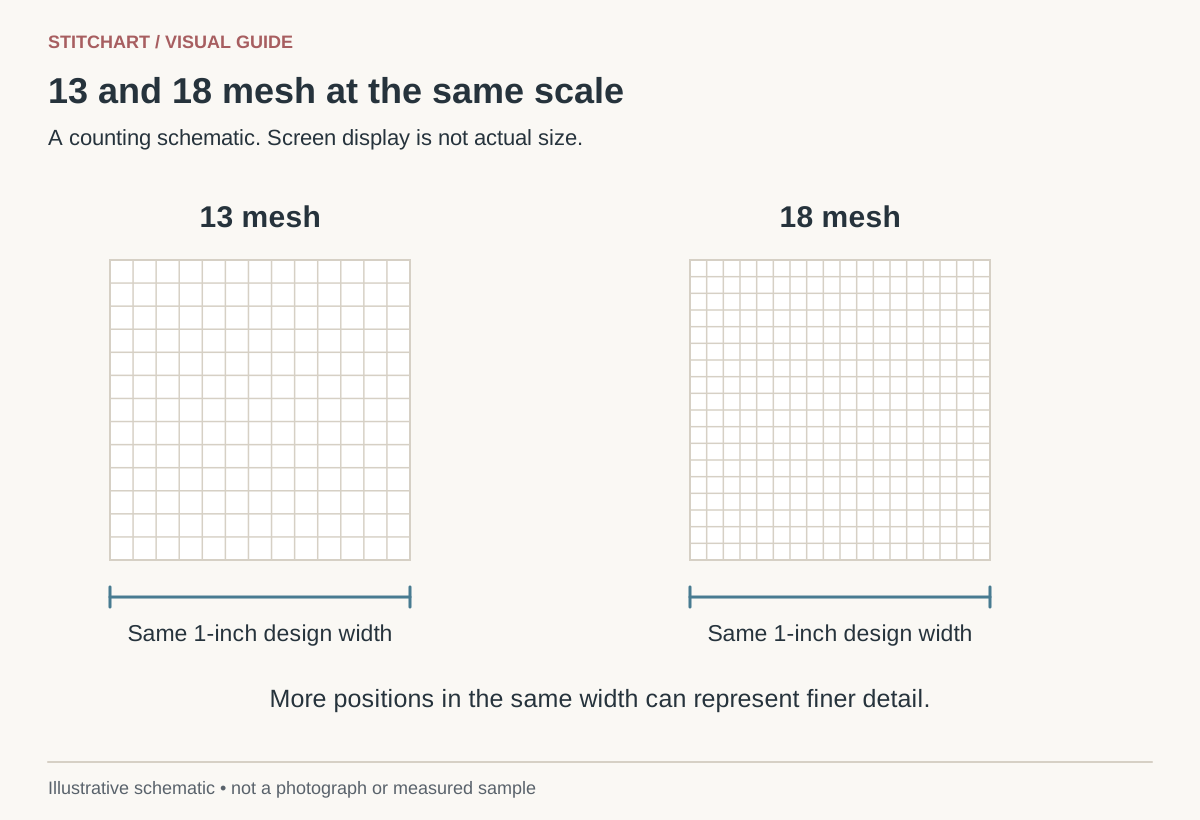
Mesh count describes the scale of the canvas grid. With one tent stitch per intersection, 13 mesh offers fewer positions per inch than 18 mesh. To compare them correctly, first decide what stays fixed: the design’s physical size or its counted width and height.
When the finished size stays the same
Multiply the stitched width in inches by the mesh count to estimate the positions across. Do the same for height. These are nominal planning figures; check the actual canvas and production specification when ordering or finishing.
| Stitched size | 13 mesh grid | 18 mesh grid |
|---|---|---|
| 2 × 2 inches | 26 × 26 =676 intersections | 36 × 36 =1,296 intersections |
| 4 × 4 inches | 52 × 52 =2,704 | 72 × 72 =5,184 |
| 6 × 4 inches | 78 × 52 =4,056 | 108 × 72 =7,776 |
At the same physical area, the ratio of grid positions is 18²/13², about 1.92. That is not a measured ratio for time or thread. Thread preparation, stitch route, starts, ends, and the design’s color changes all affect those quantities.
When the chart stays the same
Divide the chart’s counted width by mesh to obtain nominal inches. A 90-position-wide chart is 90/13 ≈6.92 inches on 13 mesh and 90/18 =5 inches on 18 mesh. The design still has 90 positions across; it has not gained detail. Its counted features simply occupy a different physical scale.
| Chart | On 13 mesh | On 18 mesh |
|---|---|---|
| 26 × 26 | 2 × 2 inches | About 1.44 × 1.44 inches |
| 52 × 78 | 4 × 6 inches | About 2.89 × 4.33 inches |
| 90 × 90 | About 6.92 × 6.92 inches | 5 × 5 inches |
Use the detail budget
Suppose a face occupies half the width of a 6-inch-square canvas. It gets about 39 positions across on 13 mesh or 54 on 18 mesh. If the face occupies only one quarter of the width, that drops to about 20 or 27. Cropping the subject larger can therefore matter as much as changing mesh. The photo-selection guide shows this calculation in context.
More grid positions offer more choices for an outline or color transition; they do not guarantee a likeness. A blurred source, weak contrast between adjacent features, or a poorly chosen crop remains a problem. Inspect the preview at the proposed physical size instead of judging only a large zoom.
Choose the working setup
For a first project, consider whether you can comfortably distinguish the holes and color boundaries, how much detail the subject needs, and the size required by the finish. A larger grid may be easier for some people to handle; a finer grid may suit a compact detailed design. Neither is inherently a higher-quality canvas choice.
The thread must match the complete setup. A product designed to be separated allows its strand count to change; an undivided thread should not be pulled apart simply to force it through finer mesh. Compare cotton, wool, and silk constructions before substituting.
Keep design size separate from canvas size
A 2-inch stitched ornament can sit on a 6-inch piece of canvas. The extra fabric is a working and finishing margin, not an enlarged design. Record both dimensions and confirm the finisher’s requirement. Do not calculate the finished design from the outer canvas measurement.
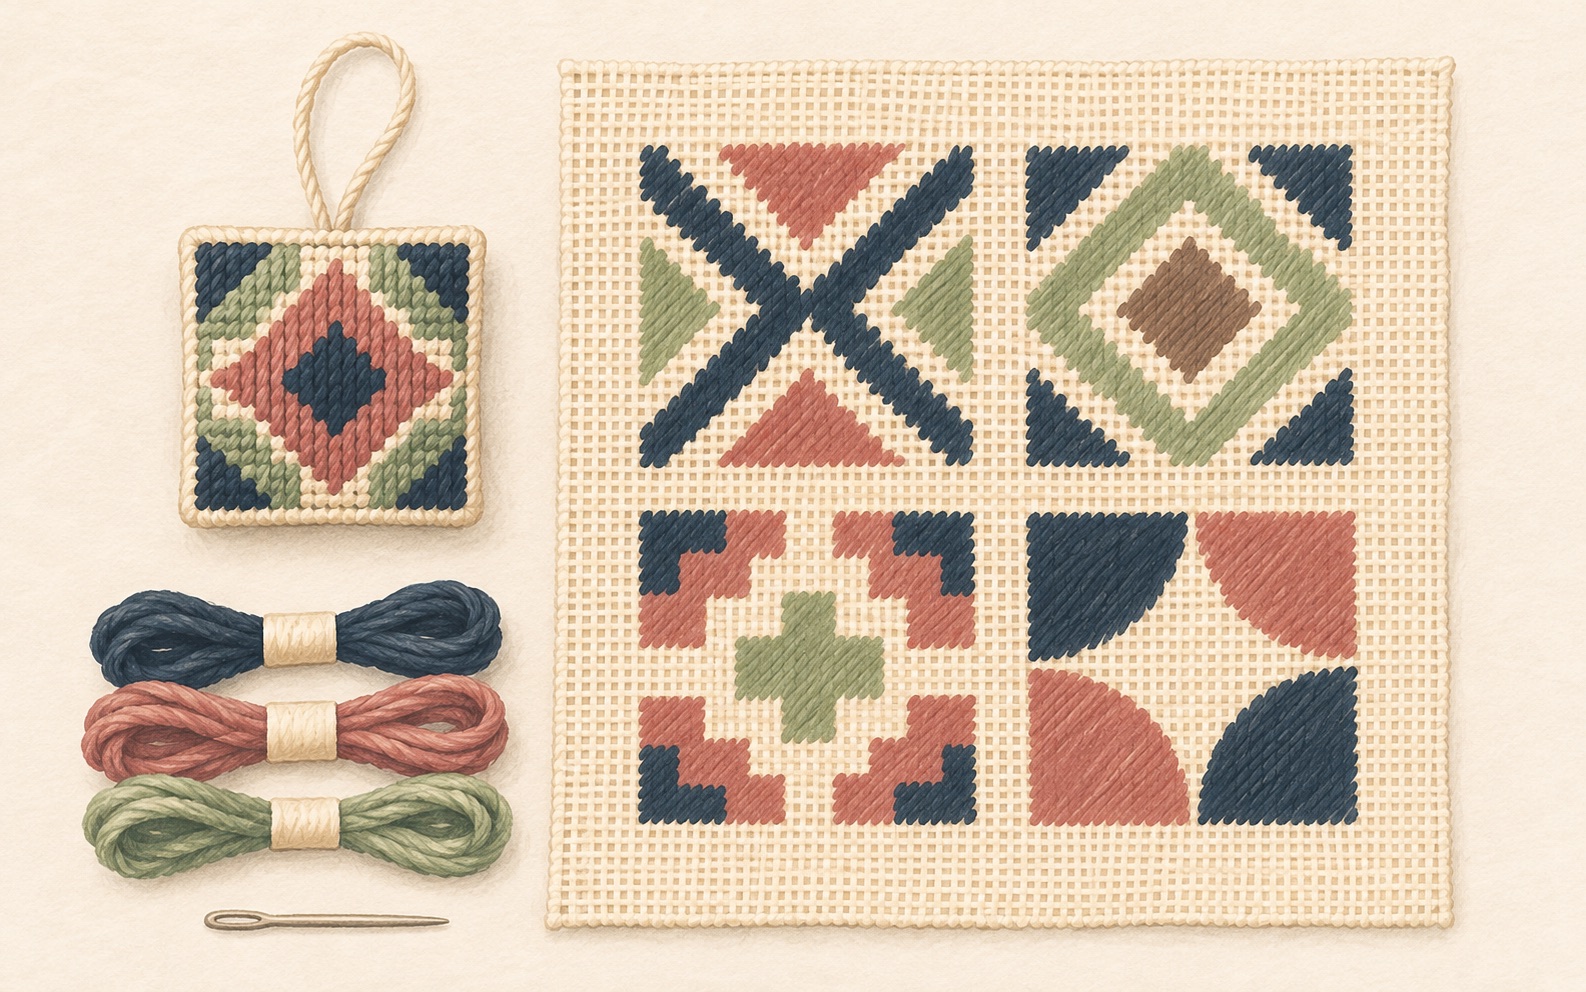
For a practical comparison, use the four-patch sampler: two patches keep stitch count fixed and two keep physical area fixed. It gives you an actual-size reference without publishing separate pages that repeat the same lesson for each mesh.
Keep learning
Project
A 13 and 18 mesh comparison sampler
Build a four-patch 13/18 mesh sampler, compare equal stitch counts and equal physical areas, and use a printable record.