
Guide
Working with a professional needlepoint finisher
Prepare a clear needlepoint finishing request with a copyable form, a completed planning example, and shipping and return checks.
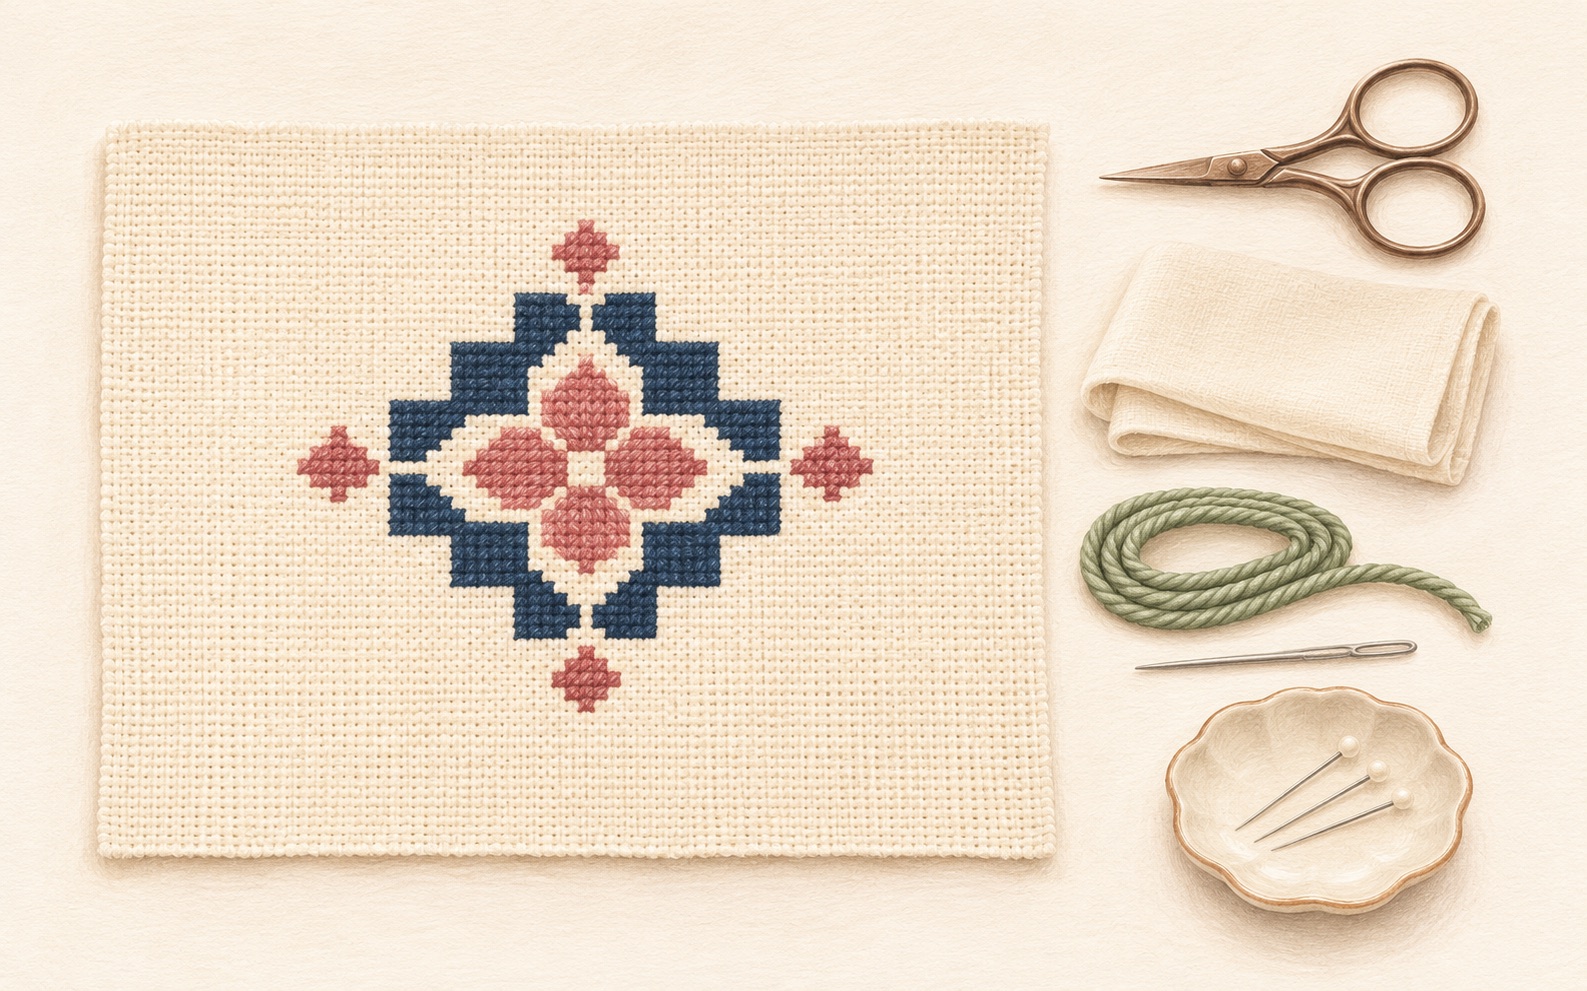
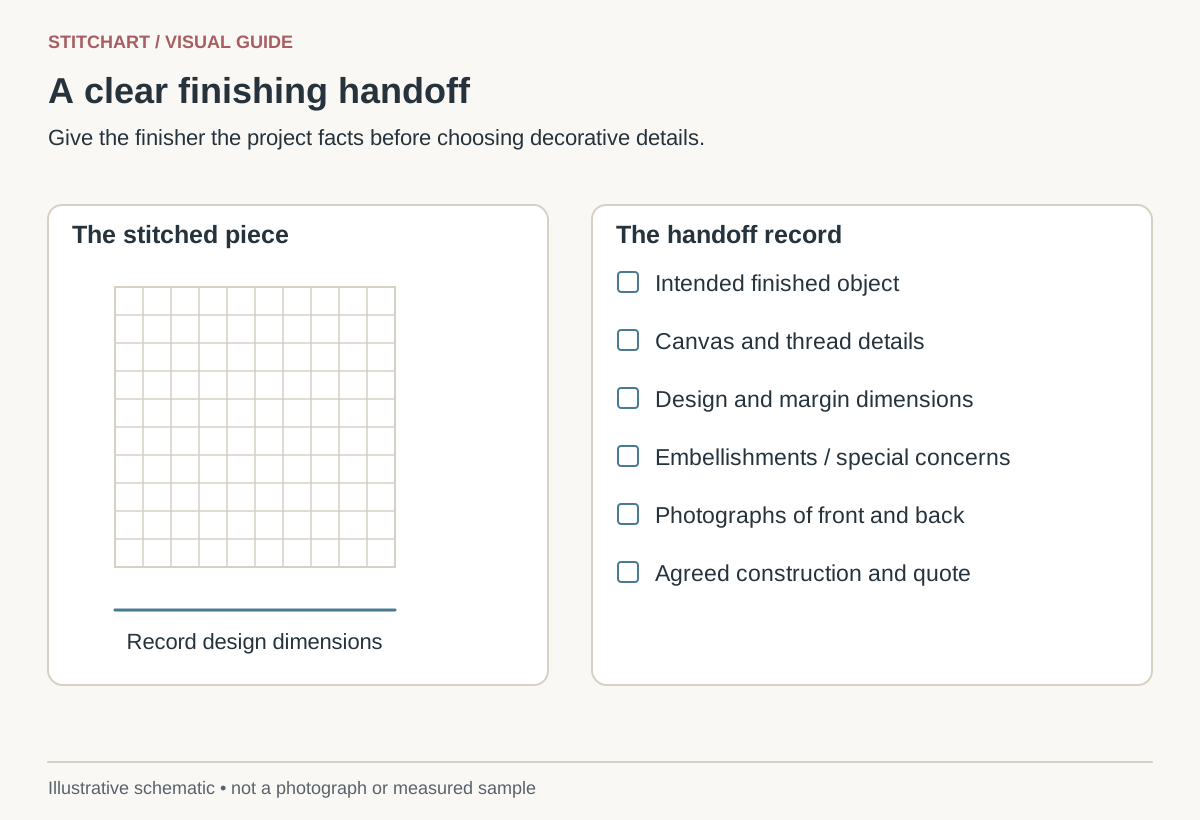
A finisher needs to know what the stitched canvas should become, what materials are in it, and which choices are already settled. Send that information together so a quote or construction decision does not depend on guessing from a photograph.
Agree the finish before stitching
Ask about the intended object’s dimensions, required unstitched margins, extra edge rows, and any restrictions on raised stitches or hardware. A 2-inch stitched square is not a promise of a 2-inch finished ornament. Padding, seams, trim, or mounting can change the outer dimensions.
For a new project, choose a construction before trimming the canvas. For completed stitching, photograph what exists and ask what is possible rather than cutting it to a guessed seam allowance. Ornament planning, pillow planning, and belt planning cover different constraints.
Copy this request form
| Information | Your entry |
|---|---|
| Your contact and project name | ________________ |
| Desired object and intended use | ________________ |
| Stitched width×height; full canvas width×height | ________________ |
| Mesh; canvas maker; painted/printed/counted | ________________ |
| Thread lines; embellishments; unknown materials | ________________ |
| Requested backing, trim, lining, padding, hardware | ________________ |
| Who handles blocking? Remove from bars? | ________________ |
| Quote, payment terms, estimated completion, return shipping | ________________ |
| Photos attached: front/back/margins/ruler | ________________ |
| Deadline, if any; agreed feasibility | ________________ |
Print this page or copy the table into your project notes. Keep the finisher’s answers beside the request, especially any approved change to size, trim, or construction.
A completed planning example
Project: geometric ornament. Desired object: square hanging ornament. Stitching: 26 × 26 tent stitches on 13 mesh, nominal 2 × 2 inches; full canvas 6 × 6 inches. Threads: DMC Pearl Cotton size 3 in three selected shades, no beads. Preference: plain backing and a hanging loop, with trim to be chosen after seeing options. Questions: do you need additional edge rows, should I leave it on the support, and will you handle blocking?
That example corresponds to the counted ornament exercise. It is a sample request, not a real quote or a claim that a finisher accepted those specifications. Leave price and completion fields blank until the actual provider responds.
Photograph what the finisher needs to see
- Take a straight-on front photograph with the entire stitched outline visible.
- Take a reverse photograph showing thread ends, bulk, and any repairs.
- Include the full canvas so margins can be assessed.
- Add a ruler in at least one view; do not rely on a screen image to establish size.
- Identify any stains, distortion, damaged canvas threads, or earlier treatment rather than hiding them in a close crop.
Pack and hand over deliberately
Follow the finisher’s instructions about bars, rolling, flat packing, and protective layers. Do not fold through raised stitches or attach a label with adhesive on the stitched surface. Put identification and the agreed request with the piece, and keep copies of the photographs and shipping record. Confirm the delivery address and return arrangements directly with the provider.
Leave washing and blocking to the agreed process. The pre-blocking decision guide explains why a familiar fiber or a general online tutorial is not enough to select a treatment for every canvas.
Check the returned object
Compare the result with the agreed construction: dimensions, backing, trim, orientation, hanging point, and hardware. Retain the care instructions and materials record. If something differs from the agreement, contact the finisher with the written specification and clear photographs rather than trying to modify the piece before the issue is understood.
Keep learning

Guide
Blocking: decide before adding moisture
Decide whether blocking is appropriate before adding water or heat, with a material decision table and a concrete finisher handoff.

Learning path
Your first needlepoint canvas: a learning path
Follow a linked beginner path from choosing a canvas and planning its finish to starting threads, stitching, and checking your first project.