
Project
A 13 and 18 mesh comparison sampler
Build a four-patch 13/18 mesh sampler, compare equal stitch counts and equal physical areas, and use a printable record.
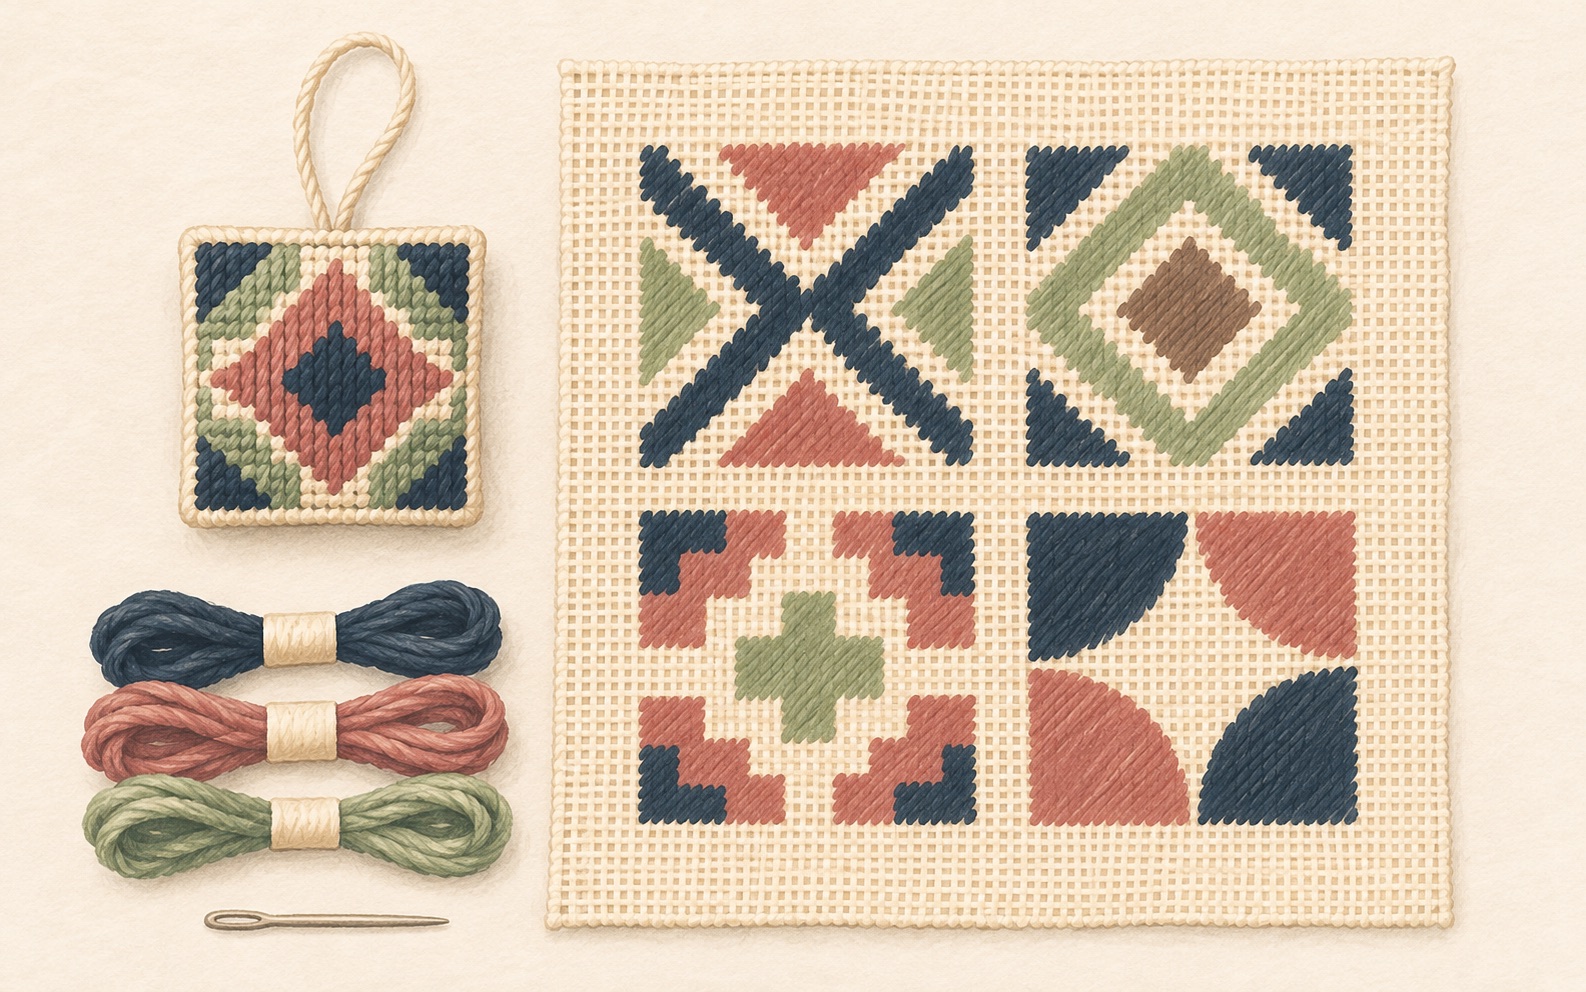
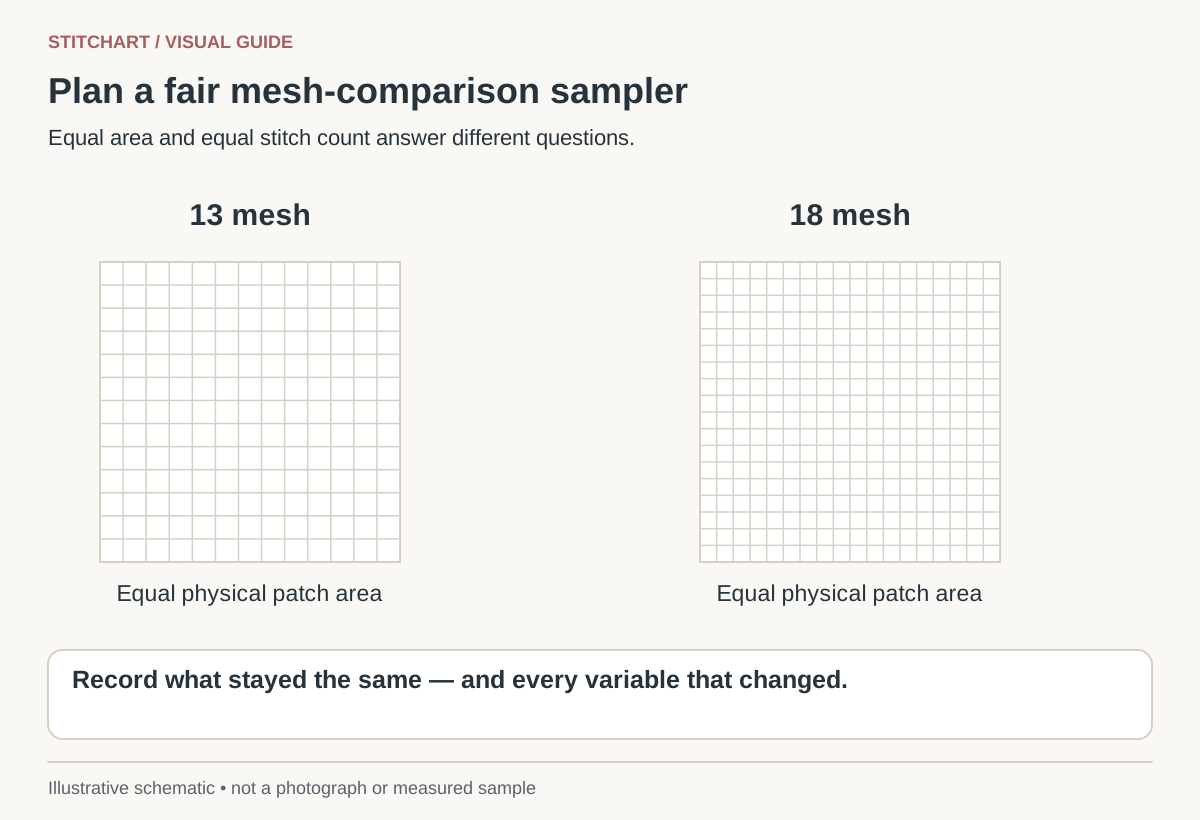
This exercise separates two questions that are often mixed together: what happens to a fixed chart when mesh changes, and what it takes to cover the same physical area. Make four patches so each comparison has a clear meaning. Choose one stitch method and keep it consistent throughout.
Set up four labeled patches
| Patch | Canvas | Counted size | Nominal physical size |
|---|---|---|---|
| A | 13 mesh | 26 × 26 intersections | 2 × 2 inches |
| B | 18 mesh | 26 × 26 intersections | 1.44 × 1.44 inches |
| C | 13 mesh | 26 × 26 intersections | 2 × 2 inches |
| D | 18 mesh | 36 × 36 intersections | 2 × 2 inches |
A and B compare the same 676-stitch design at different physical scales. C and D compare equal 2-inch squares: 676 intersections on 13 mesh and 1,296 on 18 mesh. That is about 1.92 times as many intersections, not a measured 1.92 times thread-use or time ratio.
Choose and name the materials
Use continental tent stitch for a straightforward row-by-row exercise, or use basketweave if you are already comfortable maintaining its diagonals. Do not use one method on 13 mesh and another on 18, then attribute every difference to mesh.
You have two valid material plans. To isolate the grid change as far as practical, use the identical thread preparation on both meshes, provided it passes comfortably. To compare useful project setups, select a suitable preparation for each mesh and write down the difference. The second approach answers “which complete setup do I prefer?” rather than “what did mesh alone cause?”
Use the same work sequence
- Cut or obtain separate canvas pieces with generous margins. Prepare edges and use comparable support. Label the pieces outside the stitching.
- Count the four boundaries from one fixed starting corner. Confirm 26 or 36 positions before beginning.
- Use the same color and stitch direction. Complete a few rows, inspect the reverse, and correct a route error before expanding the patch.
- Measure the stitched width and height without stretching the piece. Record the actual result alongside the nominal calculation.
- Photograph fronts and backs together with a ruler and consistent light. Keep the labels visible.
Copy this record for each patch
| Field | Your entry |
|---|---|
| Patch ID and date | ________________ |
| Canvas maker / nominal mesh / measured width | ________________ |
| Thread maker / line / color / lot | ________________ |
| Number of individual strands or undivided lengths | ________________ |
| Needle / support / stitch / starting and ending method | ________________ |
| Counted width×height / actual stitched width×height | ________________ |
| Coverage, resistance, texture, and visible grid | ________________ |
| What changed from the comparison patch | ________________ |
A planning example can be filled before stitching: “Patch B; 18 mesh; 26 × 26; continental; nominal 1.44 inches square; actual width blank; observations blank.” The blank result fields matter: calculated dimensions are not measured results. Keep your completed record with the physical sample so a later article can cite the setup accurately.
If you measure thread consumption
Measure the cut lengths you actually use, record leftover pieces, and decide in advance whether starts, endings, and discarded thread count as consumption. For stranded thread, record both the cut length and the number of individual strands; 40 cm of four strands is not the same quantity of material as 40 cm of eight.
Repeat a patch before using the result to estimate a larger project, and keep a separate allowance for waste and color changes. A solid square does not reproduce the many starts and isolated details of a portrait. Use the materials test-card guide for the long-term record and mesh calculations when changing a chart’s size.
Keep learning
Guide
13 versus 18 mesh: choosing the right scale
Calculate how 13 and 18 mesh change a design’s size and detail, compare fixed-size and fixed-count examples, and choose a practical setup.