
Guide
Choosing stitches for roofs
Plan needlepoint roof stitches that preserve ridges and slopes. Work through a two-plane roof, shingle scale, and 13-versus-18-mesh choices.
A roof reads as a roof because its planes meet at a ridge and end at recognizable eaves. Surface texture comes after that structure. If a decorative stitch obscures the ridge or rounds off a sharp gable, it is doing too much.
Begin with the roof’s outline and the line where the visible planes meet. Note which plane is lighter. You can describe the turn between them with color even when both use the same stitch.
Separate perspective from stitch direction
A painted shingle course may slope across the picture because the roof is seen at an angle. Canvas rows remain square. Trying to make every stitch follow a painted perspective line can create awkward, inconsistent paths.
Use a counted plan to translate the slope into manageable steps. Tent stitches give control over a stepped boundary; continental tent stitch is especially useful in narrow sections. A broader decorative fill should sit within that boundary rather than redefine it.
Plan a two-plane roof
Imagine a house with a front-facing gable and a larger roof plane extending to the right. Give the broad right plane a medium slate color and the narrow shadowed plane a darker slate. Keep the ridge line continuous from its highest point to the back of the roof.
Next decide whether shingle courses are actually needed. If the roof occupies only a small portion of the canvas, the two values and a clean eave may be enough. If it is a large foreground feature, a controlled repeating texture can add interest.
Brick stitch offers an offset rhythm, but its upright elements do not automatically represent roof shingles. Compare its appearance with the painted courses before using it. A stitch named for masonry still needs to fit the building.
Preserve the small interruptions
Chimneys, dormers, and patches of snow interrupt the roof. Continue the underlying repeat mentally across each interruption. Otherwise the surface can restart at a different level on the far side.
Keep narrow edges in a compact stitch rather than forcing full decorative elements beside a chimney. Work those transitions through boundary compensation. For a snowy roof, the snow guide explains how to preserve the roof’s structure beneath the white areas.
Scale the detail to the house
At the same finished roof size, 18 mesh allows more positions for a shingle course than 13 mesh. That is a reason to simplify the coarser version, not to make the roof larger than the house. Avoid adding a dark line for every course when only a suggestion is needed.
The final check is architectural: can you identify the ridge, each plane, and the lower edge at a glance? If those relationships remain clear, the roof can tolerate texture. If they disappear, return to a smoother fill and let the building’s shape do more of the work.
Keep learning
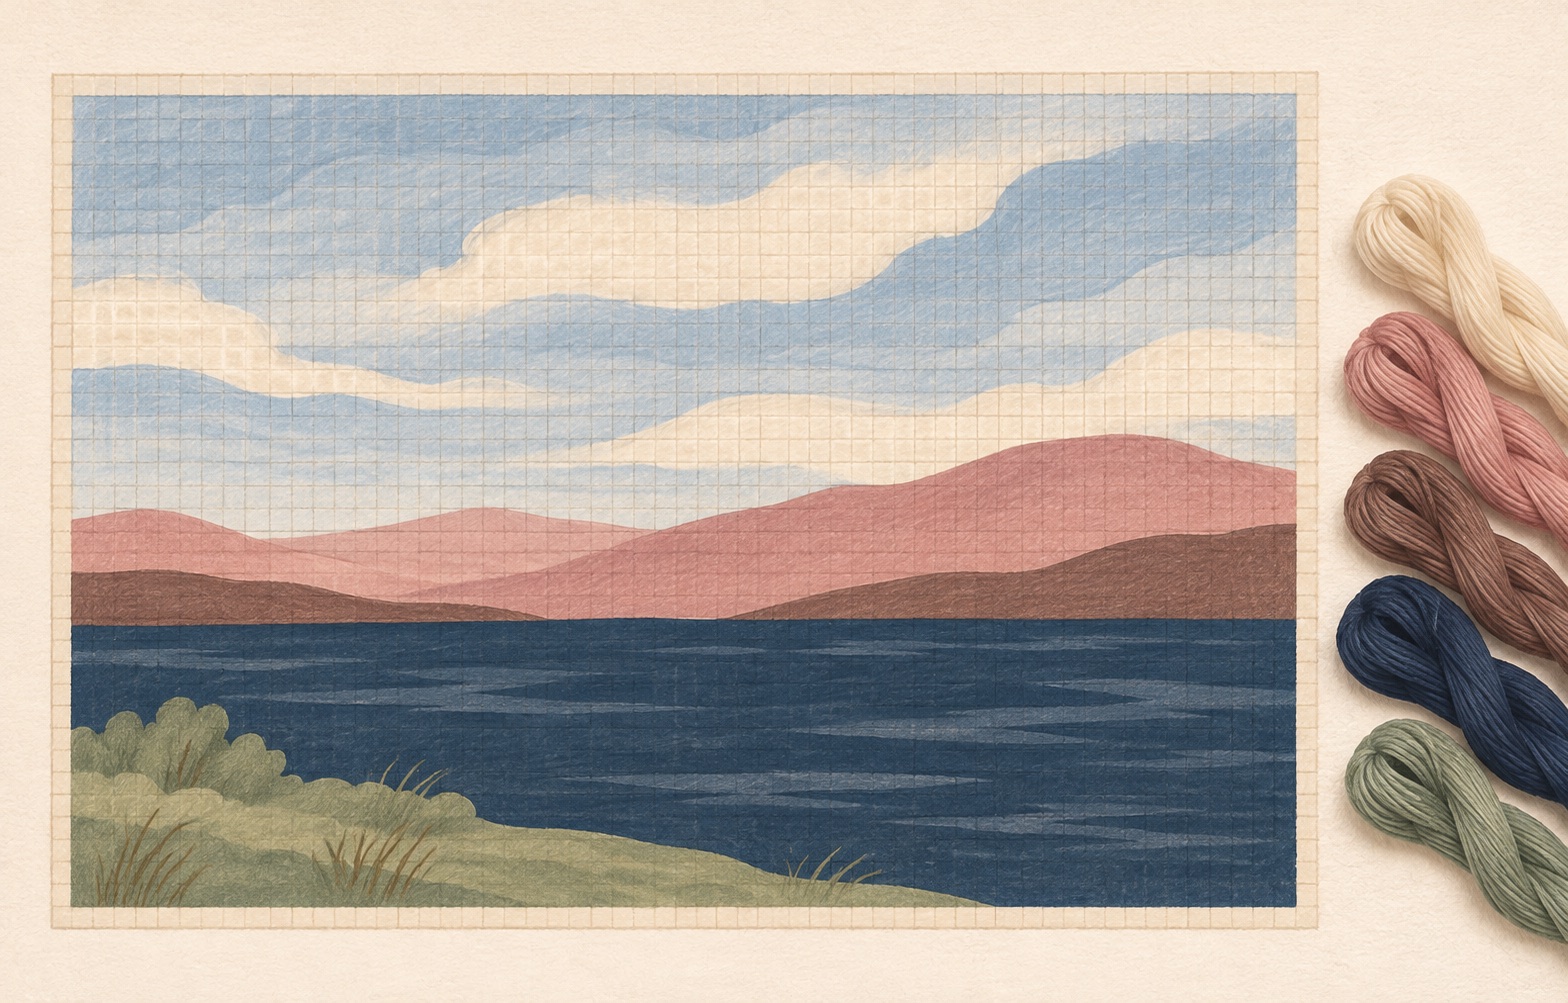
Guide
Choosing stitches for water
Choose between tent stitch, mosaic, and horizontal straight stitches for water, with a worked pond and shoreline example.
Guide
Choosing stitches for skies
Compare quiet tent stitch, mosaic, and an open sky treatment, then plan a roofline and cloud without breaking the design.

Learning path
Your first needlepoint canvas: a learning path
Follow a linked beginner path from choosing a canvas and planning its finish to starting threads, stitching, and checking your first project.