
Troubleshooting case
Uneven stitch tension
Find the cause of uneven tension, practice a controlled pull, and correct a recent loose loop without pulling harder across the whole canvas.

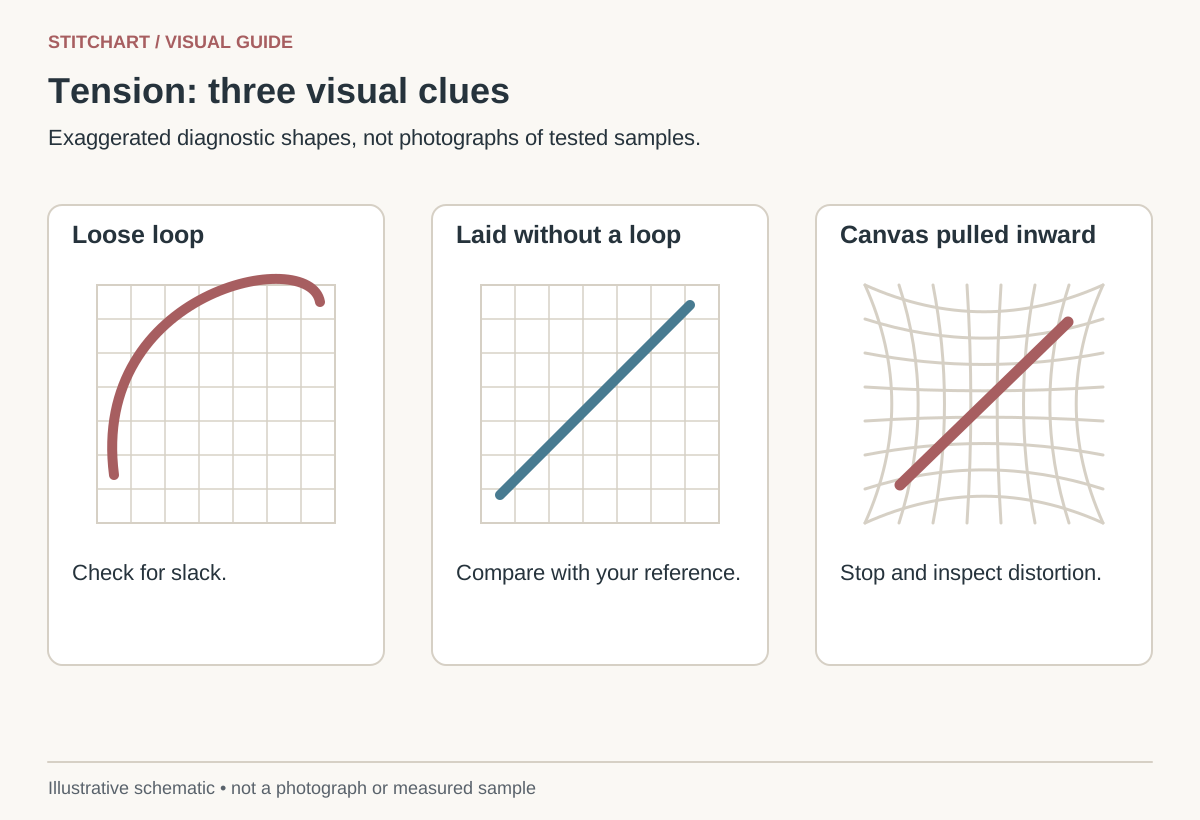
Uneven-looking stitching can come from tension, but also from a changed thread bundle, a different stitch route, or light reflecting in a new direction. Locate where the appearance changes before deciding that every stitch needs to be pulled tighter.
Find the point where the work changed
| Pattern in the problem | Likely place to investigate | Check |
|---|---|---|
| Difference begins at a new thread | Preparation or length | Same product and individual strand count? |
| Difference begins after turning a row | Route or orientation | Same front slant and correct reverse? |
| Loose loop visible on the back | Thread not fully drawn through | Is it the most recent stitch or already trapped? |
| Whole canvas is skewing | Pulling, support, or route | Does the grid stay square when held without force? |
| Only one crowded boundary looks rough | Shared holes and friction | Are neighboring stitches being split or pushed aside? |
A table gives starting points, not a diagnosis from appearance alone. Keep the canvas orientation and light fixed while comparing neighboring patches. For construction differences between tent stitches, use continental and half-cross.
Practice a controlled pull in ten stitches
- Prepare a small scrap with the same mesh, thread, and support as the project. Use the same number of strands throughout.
- Make the first front stitch, then draw the working thread through while watching or feeling for the reverse loop to disappear.
- As the thread settles against the canvas, stop. Do not add a final tug that moves the canvas threads or compresses the previous stitch.
- Repeat slowly for five stitches. Turn the sample over and check for loops; look at the grid from the front for pulling.
- Work five more with the same movement. Compare the two groups under the same light. The target is a repeatable settling movement, not maximum tightness.
If thread drags before it settles, inspect the needle eye, thread condition, and crowded holes. A shorter fresh length can help isolate wear from pulling. Do not compensate for friction by yanking harder; use the fraying-thread checks to locate the cause.
Correct a recent loose loop
If the loop belongs to the stitch you just made and no later stitches cross it, gently draw the working thread until the slack disappears. Watch the front so you stop when it settles. If the loop is caught under later work, do not pull against the trapped section. Retrace the recent stitches in reverse order until the loop is accessible, then restitch with the thread untwisted.
For example, if the back shows a loop after stitch 6 and stitches 7–8 have crossed it, first remove 8 and 7 by following their paths backward. Then correct or remove 6. This is a logical sequence for a recent, visible error; it is not advice to cut into an unknown dense patch. Unpicking a mistaken area covers the limits.
When a patch is too tight
Do not try to equalize it by pulling surrounding stitches equally hard. Stop extending the problem. Check that the support is secure without forcing the canvas out of shape and that your hand is not gripping one corner tightly. A small recent section may be worth restitching after its cause is understood; a large completed area needs a different decision.
Blocking is a finishing process, not a guaranteed cure for every tension problem. Before treating a completed canvas, use the pre-blocking guide and consult the intended finisher about the actual materials and distortion.
Resume with one change
Choose one change that follows from the evidence: correct the strand count, replace a rough needle, restore the intended stitch route, or stop the final tug. Work a short section and inspect it. If you change thread, needle, support, and stitch at once, you may improve the result without learning which change mattered.
Keep learning

Troubleshooting case
Canvas showing through unexpectedly
Diagnose unexpected canvas gaps with a symptom table, a controlled coverage check, and clear limits on adding thread or removing stitches.

Learning path
Your first needlepoint canvas: a learning path
Follow a linked beginner path from choosing a canvas and planning its finish to starting threads, stitching, and checking your first project.