
Troubleshooting case
Canvas showing through unexpectedly
Diagnose unexpected canvas gaps with a symptom table, a controlled coverage check, and clear limits on adding thread or removing stitches.

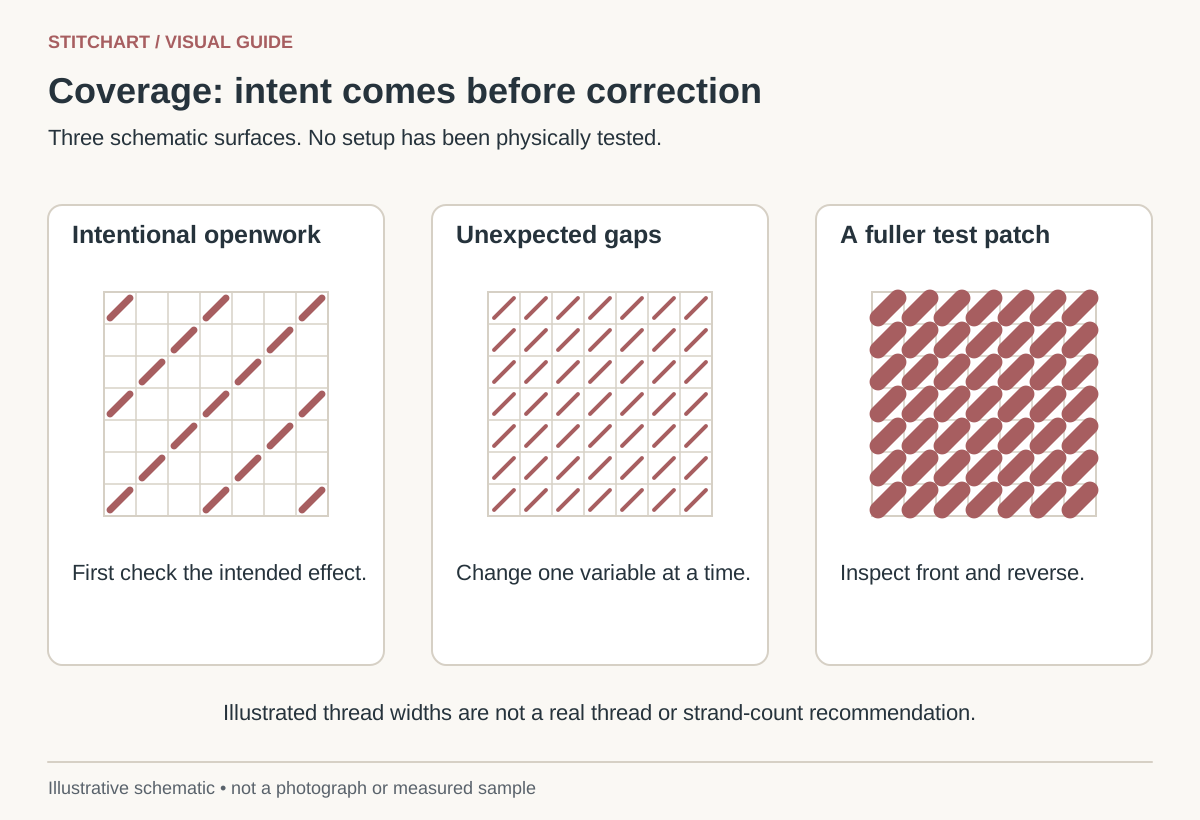
First decide whether the chosen stitch is meant to cover the canvas. An open background deliberately exposes the grid; an unintended pale fleck in a dense tent-stitch area is a different problem. Inspect the work under ordinary light and at normal viewing distance before changing it.
Match the symptom to the next check
| What you see | Check first | Useful next action |
|---|---|---|
| Even gaps throughout a dense patch | Exact thread line, strand count, stitch, and mesh | Compare the intended preparation with what is actually in the needle |
| Gaps mainly after a direction change | Whether the stitch route changed | Compare the reverse with continental or basketweave |
| Gaps with crowded holes or difficult pulling | Tension, shared holes, and needle passage | Reduce the handling problem before adding bulk |
| A few isolated pale points | Missed intersections, split strands, or local wear | Inspect one point closely; do not remove the whole area |
| Dark shapes visible through a pale area | Long carries or dark endings on the back | Trace the reverse thread before changing the pale surface |
| Regular open spaces matching the chart | Whether the stitch is intentionally open | Judge the planned effect rather than trying to fill every opening |
Check the thread you actually used
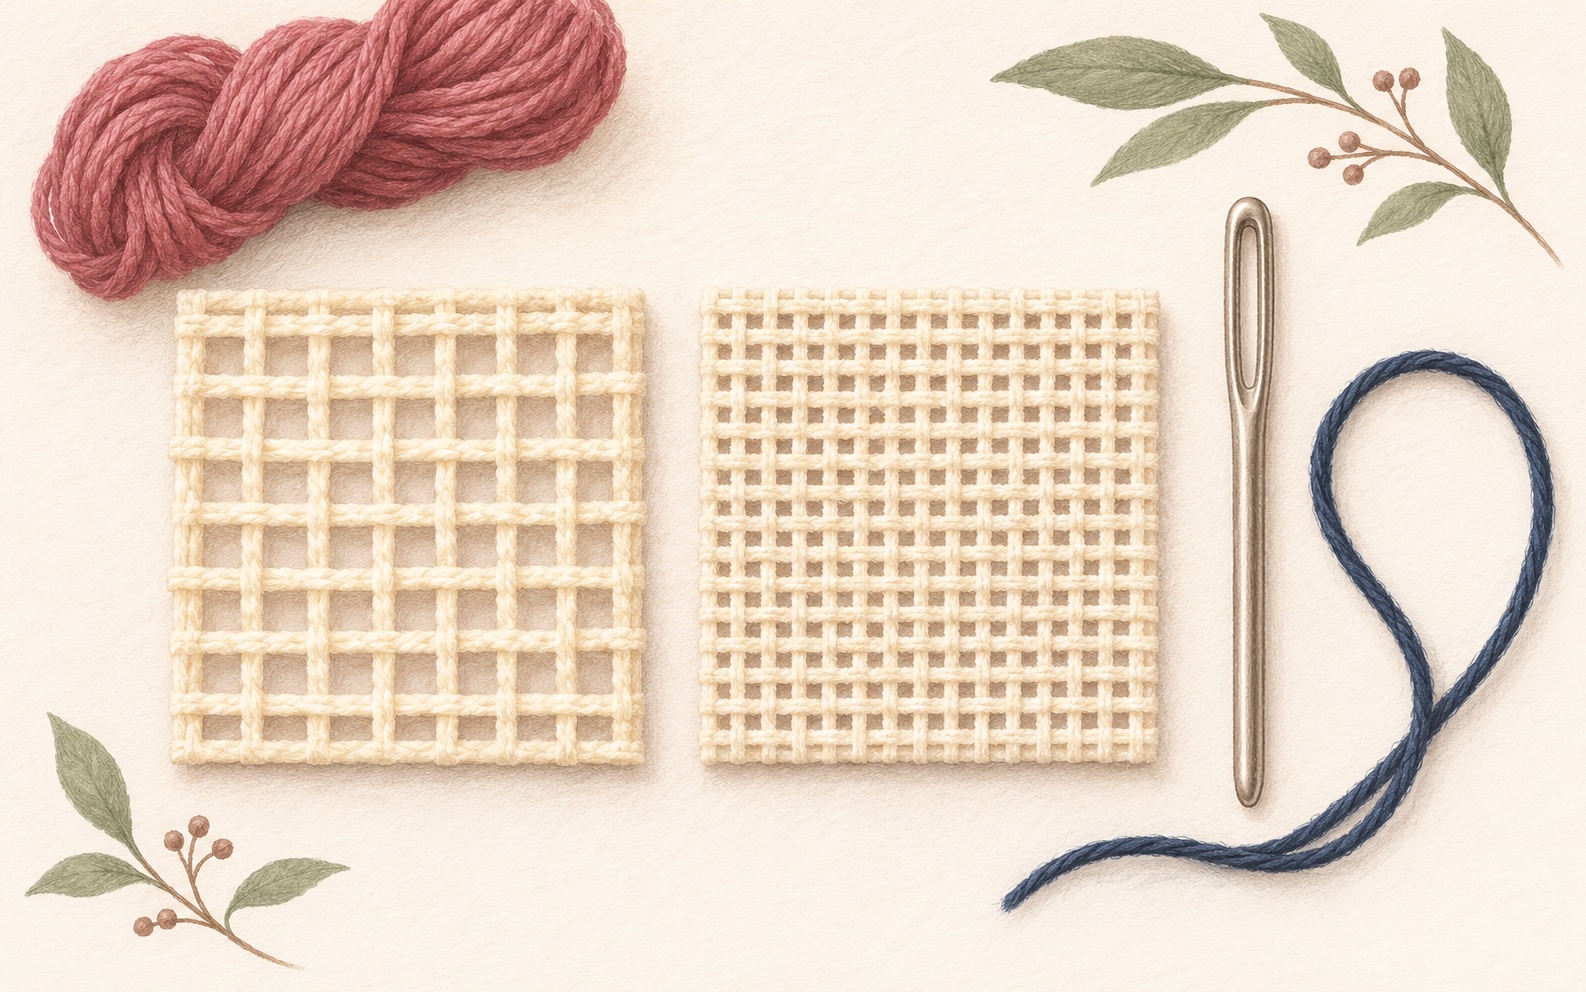
Read the full product label. A single complete length of pearl cotton is not the same as a single strand taken from six-strand floss. Count separable strands before threading, and keep the unused strands nearby until you are sure of the preparation. The cotton comparison illustrates the difference.
Compare with the kit or maker’s specific instruction. A chart recommending four individual strands does not mean four whole lengths of six-strand floss. Conversely, threading one complete six-strand bundle and accidentally dropping two strands can change the working surface midway through a patch.
A worked diagnostic decision
Suppose your 18 mesh project specifies four individual strands of cotton floss, but an unevenly covered patch was worked with two. That is a documented mismatch before any speculation about tension. On separate scrap of the same canvas, prepare four strands and work the same stitch beside a two-strand patch. Keep the needle, thread line, and working method the same.
If four strands give the intended surface and pass comfortably, the preparation mismatch is a plausible explanation. If the holes crowd or gaps remain, do not keep increasing the count: inspect route, tension, and thread condition. This is a diagnostic example with conditional outcomes, not a report of a completed StitchArt test.
Separate coverage from overtightening
Pull each stitch until the thread lies against the canvas and the loose reverse loop is gone. Stop before the canvas threads draw toward the hole or the surface stitch becomes visibly compressed. Check the next few stitches with the canvas supported consistently. Uneven tension gives a short exercise for this distinction.
A thicker bundle can hide some canvas while making shared holes harder to use. That can cause fraying or displacement of neighboring stitches. Comfortable passage and a suitable surface must both be considered; complete visual opacity under a bright magnifier is not the only goal.
Correct only what you understand
For one missed intersection, identify the intended color and stitch before filling it. For a small recent thread-preparation error, use careful unpicking to remove only the affected section if the canvas remains sound. Do not cut blindly into a dense reverse or assume blocking will repair a material mismatch.
Stop if a canvas thread is broken, the paint is disturbed, or a raised embellishment hides the route. Photograph the front and back and ask for help with that specific area. Preserve the thread label and a sample of the working bundle so the diagnosis can be reproduced.
Keep learning
Guide
13 versus 18 mesh: choosing the right scale
Calculate how 13 and 18 mesh change a design’s size and detail, compare fixed-size and fixed-count examples, and choose a practical setup.

Troubleshooting case
Uneven stitch tension
Find the cause of uneven tension, practice a controlled pull, and correct a recent loose loop without pulling harder across the whole canvas.