
Learning path
Your first needlepoint canvas: a learning path
Follow a linked beginner path from choosing a canvas and planning its finish to starting threads, stitching, and checking your first project.

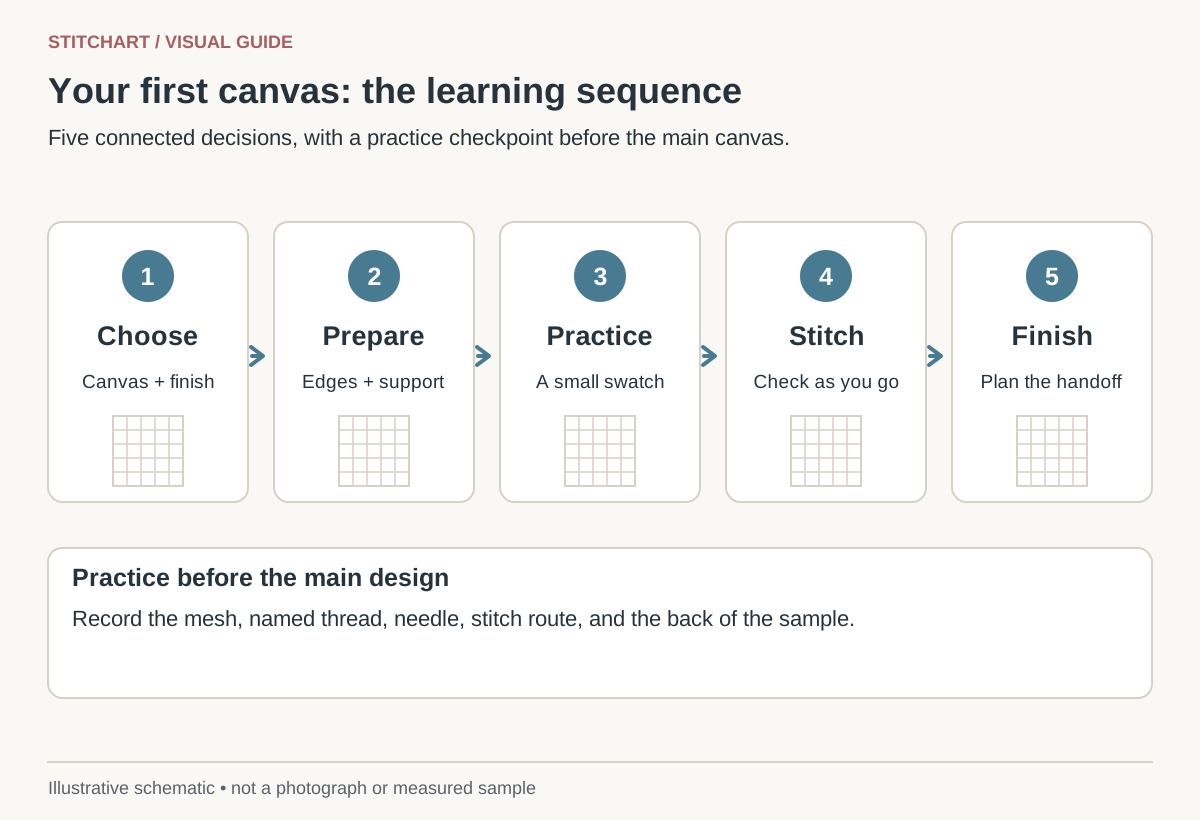
Use this path in order if you are starting from zero. Each stage has a lesson and a practical checkpoint, so you know when to move on. Decide how the canvas will be finished before stitching; the final stage is the handoff, not the first time you consider margins or construction.
1. Choose the project and agree the finish
Read choosing a first project and 13 versus 18 mesh. Pick a design with a subject you enjoy, clearly separated areas, and supplies you can identify. Ask what the listing includes: canvas only, canvas plus threads, or a complete kit. The kit-components guide helps you check the difference.
Decide whether the result will be framed, made into an ornament, or finished another way. Ask the finisher about stitched dimensions, unstitched margins, and any extra edge rows before trimming or beginning. Checkpoint: you can name the mesh, stitched size, included materials, and intended finish.
2. Prepare the canvas and your working place
Protect rough edges using the canvas-edge lesson. If using stretcher bars, follow mounting a canvas; if undecided, compare stitching in hand and on a frame. Put the thread labels and guide in the project bag rather than relying on memory.
Arrange the light so you can distinguish holes and colors without a strong shadow from your hand. Checkpoint: the canvas is supported comfortably, edges do not snag your working thread, and the chosen needle passes through a test hole without force.
3. Learn the thread and stitch movements on scrap
- Use threading a tapestry needle to prepare the actual thread you will use. If it is stranded, follow the line-specific preparation rather than separating every type of thread.
- Learn a secure thread start and a flat ending. A temporary waste or away knot is removed after its tail is secured; it is not left as a lump on the back.
- Follow the numbered two-row continental exercise. Count four stitches in each row and compare the front and reverse with the diagram.
- Practice changing colors by making two neighboring patches with separate threads.
Checkpoint: you can identify where the needle comes up, where it goes down, why the return row keeps the same slant, and how both tails are held. If the reverse has only short vertical links, compare half-cross and continental before moving on.
4. Complete a small, inspectable section
Use choosing a starting area for a painted canvas, or try the original 26-by-26 ornament chart. Work one simple area, then check for missed intersections, reverse loops, and an accidental change of direction. The point is to catch a small issue before it becomes a large patch.
If canvas shows through unexpectedly, follow the coverage decision table. If neighboring areas look tighter or looser, use the tension checks. Change one thing at a time so you can tell what helped. Checkpoint: the section matches the intended shape, every counted stitch is accounted for, and its tails are secure.
5. Finish the stitching and confirm the handoff
Work through the completion inspection and the professional-finisher checklist. Photograph the front, back, and margins. Confirm the choices already discussed, including blocking responsibility, backing, trim, and hanging or display method. Leave margins intact until the finisher tells you otherwise.
Keep a short thread and stitch journal with the completed project. For the next skill, choose the decorative-stitch learning path and mosaic. You do not need to master every stitch before completing a satisfying first canvas.
Keep learning

Guide
Choosing a first needlepoint project
Choose a first needlepoint project by comparing design complexity, mesh, included supplies, finishing needs, and a practical buying checklist.
Guide
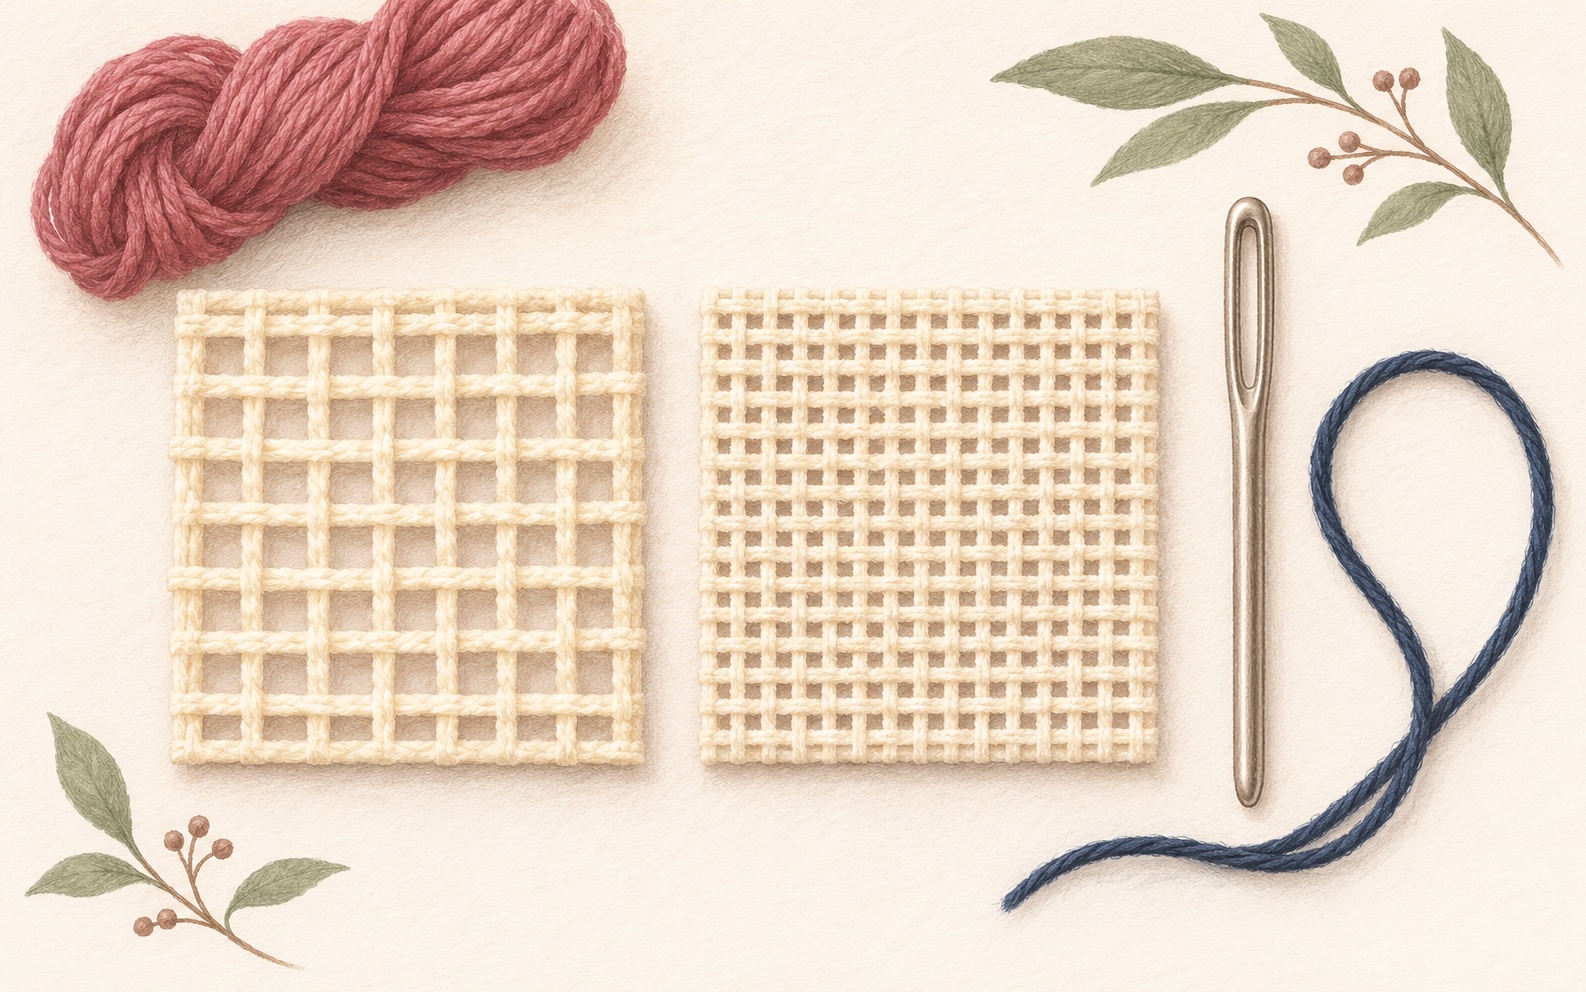
13 versus 18 mesh: choosing the right scale
Calculate how 13 and 18 mesh change a design’s size and detail, compare fixed-size and fixed-count examples, and choose a practical setup.
Stitch
Continental tent stitch
Learn continental tent stitch with two numbered rows, exact needle movements, a clean return, and a narrow-band example.
Guide
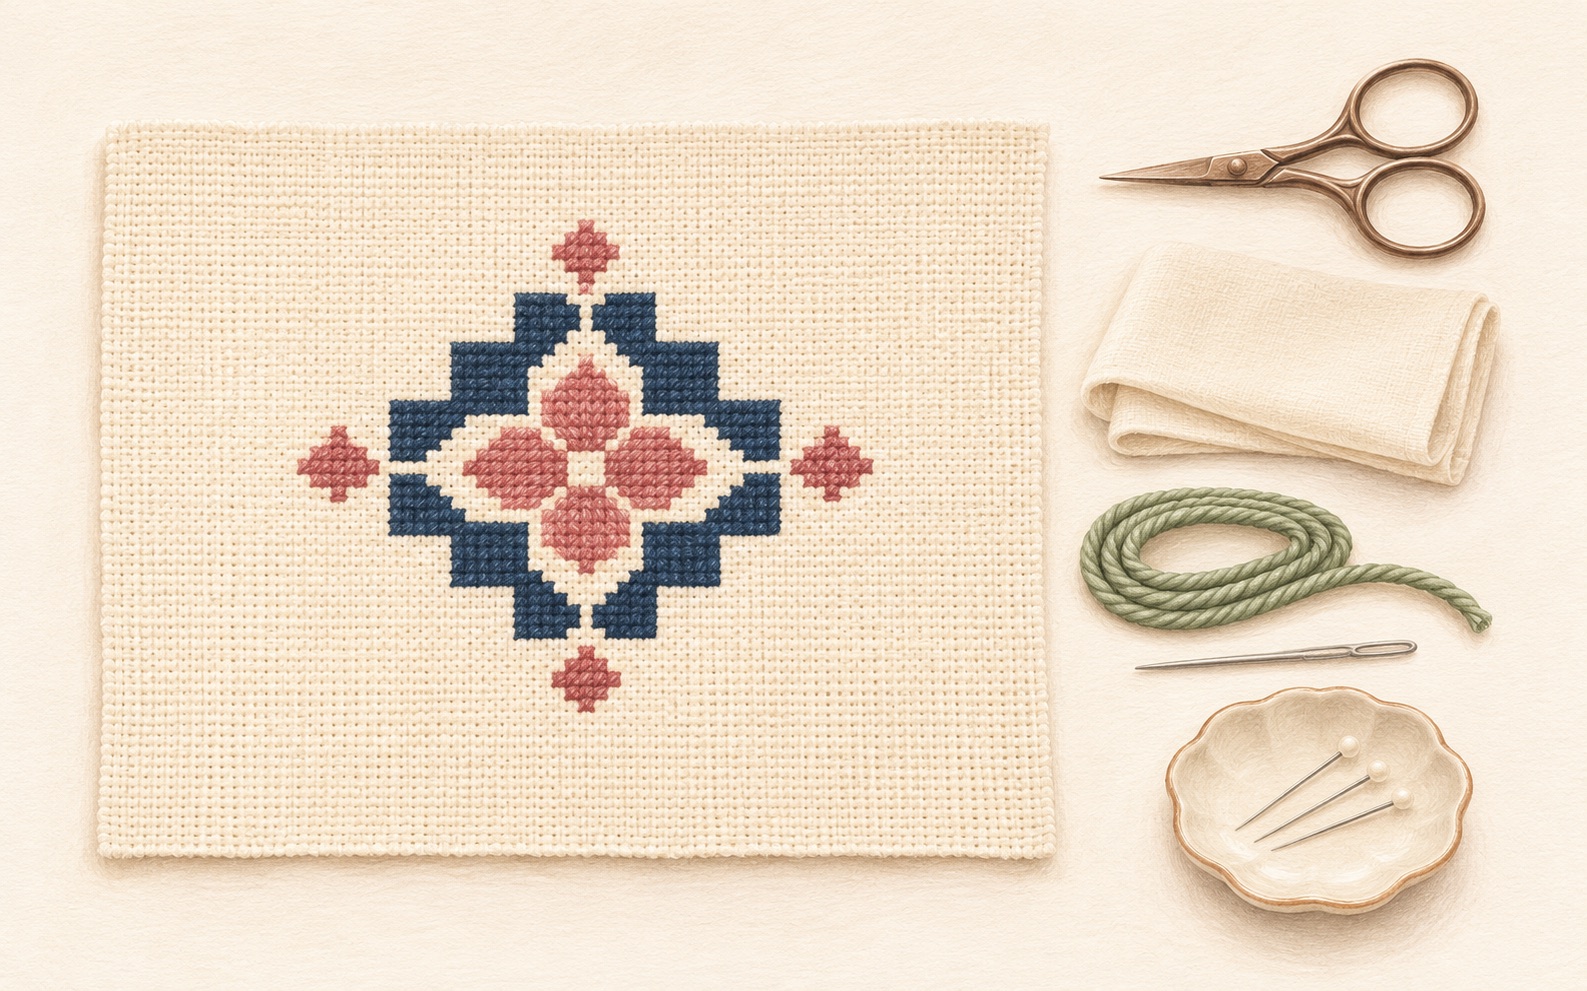
Working with a professional needlepoint finisher
Prepare a clear needlepoint finishing request with a copyable form, a completed planning example, and shipping and return checks.